
Exploring Microsoft Graph Toolkit Lap as non Developer
Purpose of this blog post is to let you be part of my personal experiences with the blog post series A Lap Around Microsoft Graph Toolkit written by The Microsoft Graph team and several MVPs.
I refer to myself as a not deep technical person. My job is to make people’s work work, which I do as an Microsoft 365 Business Consultant and Power Platform Evangelist. I take away all things that prevent employees from actually adding value to their company in a meaningful way but just keeps them busy with being busy due to odd and old processes, pointless procedures and “But we’ve always did it like that” — mindset.
As I did the #30dayswithMSGraph blog post challenge last year which introduced me into the amazing world of working with Microsoft Graph in Power Automate, I was very happy to see the #MSGraphToolkitLap announcement. I hope that I can share some experiences which might be helpful for
- developers, to understand how makers work
- makers, to understand how developers work
- the product team to take into account all developers, regardless if the write code, low-code or seriously no code at all.
So let’s get started with Day 1 of #MSGraphToolkitLap
Similar to #30DaysMSGraph the team shares Level 0–200 content, learn- and doable in 5–15 minutes each day, twice a week. Their audience is described as developers, in which I include myself as a maker as well. We will see, how fine this will work.
Microsoft Graph Toolkit is described as “ a collection of reusable, framework-agnostic web components and helpers for accessing and working with Microsoft Graph”. As far as I understand this, this means basically pre defined LEGO bricks which perfectly fit into each other to be able to use the Graph.
If you are not familiar with what the Microsoft Graph is, please make sure that you read this article of #30DaysMSGraph first.
Recommendation to prepare for the next days of this series is to have Visual Studio Code installed and to already have joined the Microsoft Developer program — which gives you a FREE tenant and admin access — plus: you can’t destroy anything in your own production tenant, which gives you more confidence when trying out everything.
From Zero to Hero — Day 2 of #MSGraphToolkitLap
I LOVE this from zero to hero approach, as I seriously start at zero when it comes to MGT. But it sounds really tempting to be able to do the first steps with just copy-pasting two lines of code into your editor in a very basic html file.
I for myself could not believe, that it should be that easy and did, what I always do when I have NO CLUE AT ALL about something. I go to docs.microsoft.com, search for this something and start reading. Can’t tell you how much I love it that Microsoft documents everything and that this gives me such a good overview. Also, when I read first to gather more information and then dig into some detail, it already sounds a little bit more familiar to me. So I started to read here and realized, that the way everything is explained is not deeply tech jargon or super sophisticated nerd speak but just extraordinary understandable, which makes me feel very optimistic, that I as a maker could achieve that as well.
So I learned about components and providers, and although I am far away from understanding every single detail, I found it very helpful to see, where this will lead to. I highly recommend for everyone to start reading the documentation as you will feel more familiar with the content and as you will want to look up details soon.
Register app in AAD
So, Blog post #2 advised me to register an application in Azure AD — as I was already familiar with this due to my previous experiences and #30daysMSGraph (if you don’t know how it works, here is the blog post where I learned it), this was an easy part. Simply
- log in to your shiny new dev tenant on portal.azure.com
- register a new application with a fancy name like “MGT Zero to Hero”
- copy your App ID as you will use it soon
- under authentication set the redirect URI to http://localhost:3000 AND http://localhost:3000/index.html (see below)
- select both checkboxes for implicit grant: Access tokens and ID tokens
Click the magic save button — that’s it!
 ## Install Live Server
This seemed to be an easy one as well, but as Live Server uses 127.0.0.1 and port 5500 by default, but my application expected these values to be localhost and port 3000. So I set my redirect URI in my app to these values, but still ran into the same odd error message:
 When I changed the port of Live Server in the JSON file that you can find in Live Server settings to localhost and port 3000, and waited a bit, it worked.
I also added http://localhost:3000/index.html as a second redirect URI in my Azure AD app, otherwise I ran into the same error message.
Note: this BIT of time can be a couple of minutes, in my first attempt it took more than an hour ¯_(ツ)_/¯ — These are challenging times and some services don’t seem to work that fast these days — so please don’t be afraid or give up, just try again after a few minutes (I suggest to just take a break )
So this took me a while as I was already doubting my skills again -Please, if you read this: don’t doubt your skills. It will work.
Copy-pasting
Yip, seriously. The Graph Team just made it super easy by providing you not only the html but also the two lines of code (and the mgt loader as well.) All you have to do is
- copy-paste the lines into a new file in Visual Studio Code and save it as index.html
- replace the ID placeholder with the App ID you got from your app registration in AAD
- hit the save button / CTRL + s
- hit the GO LIVE button
Pro Tip: Please do yourself a favor and create a new profile for your dev tenant in your browser and make sure that you have this open BEFORE you hit GO LIVE — only then your website will open in this window (and with no other user on whatsoever tenant is logged in).
And then you can just celebrate — because it works.
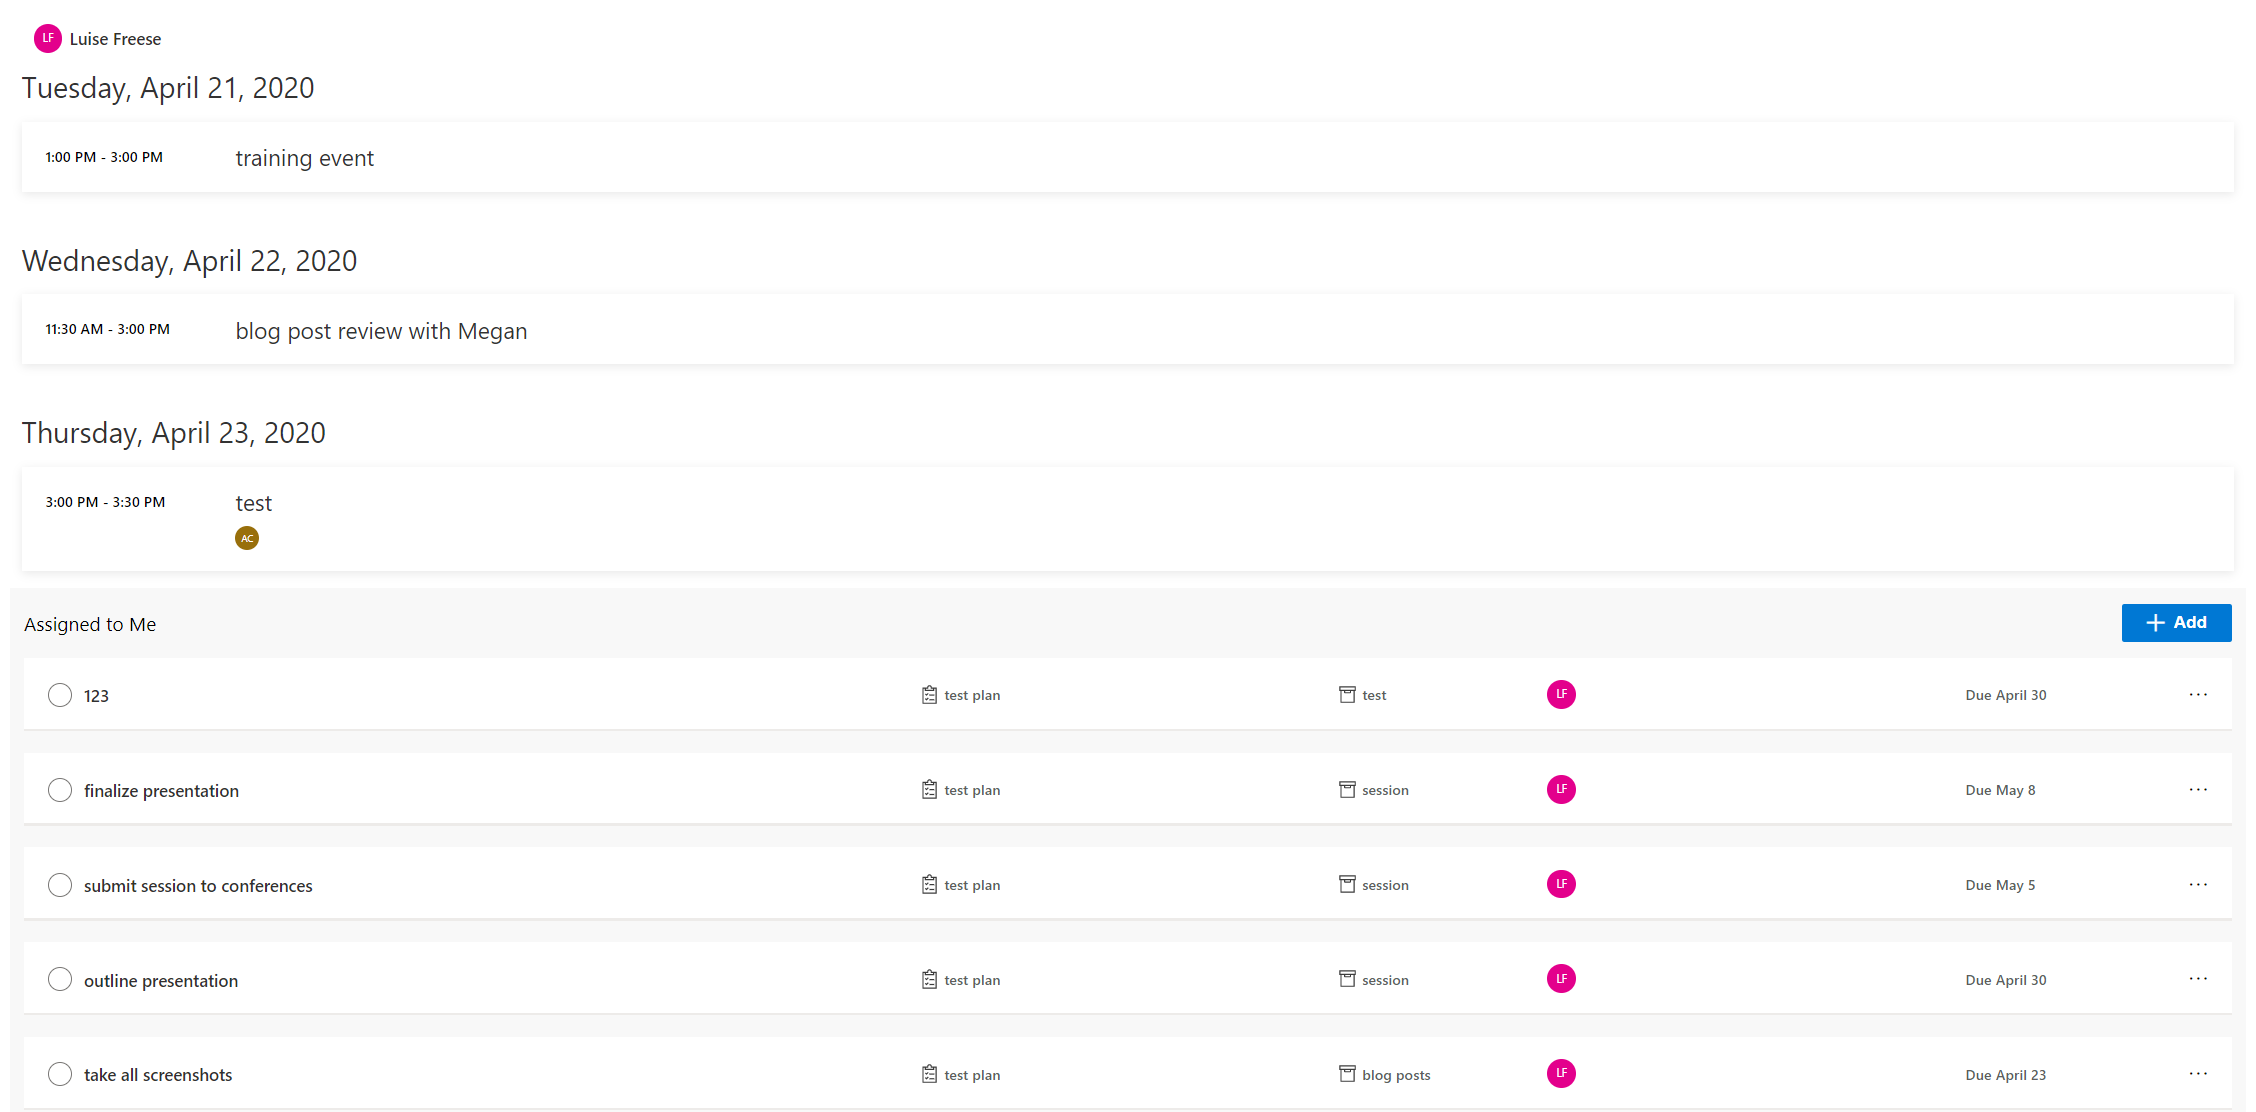
If you want to try out the mgt-agenda web component make sure that you HAVE already at least one meeting in your user’s calendar, otherwise you won’t see anything. I know, this sounds almost logical, but I thought at first, that there would be just a message “no meetings” or something like that. (I checked with F12 in my browser to investigate, if my code worked and I just and no meetings in this test users account).
 As I mentioned, I already read the documentation of Microsoft Graph Toolkit and I remembered, that there were more web components available — so I tried out the task component as well and noticed something very nice: This can get you both To Do as Planner tasks, which are assigned to that user — but default is planner.
Cool thing: you can not only read the tasks that are already assigned to this user in planner, but also add tasks to planner from within your application!
 # Day 3 of #MSGraphToolKitLap — Components
In this post Office Development MVP Fabio Franzini guides us through two most amazing topics. First thing:
The MGT Playground
You can find this under https://mgt.dev/ and you can there try out and learn about components without needing to create your own project. I still recommend to get your own dev tenant — but this Playground is just awesome. It reminds me a bit (or more than just a bit) about both the Adaptive Cards Designer, in which you can build your own adaptive cards in a visual editor, which will auto generate JSON code for you and the Graph Explorer in which you can try out queries with both sample data and in the data of the tenant of your choice.
So in this playground I just tried out the web components in a canvas, and whenever I was not sure about what I was actually doing, right next to the Canvas I found the documentation which explained pretty detailed what I needed to understand.


Again, it is super helpful when you just don’t need to search for information, but when it is directly connected to where you actually work /play. Getting content in the right context makes is so much less frustrating when you first need to catch up with some knowledge. After I understood the component, I tried it out in my application by just copy-pasting the lines into my html file, pressed CTRL +s and didn’t even need to refresh my browser to see it working.
Second thing covered in this Day #3:
Web Components
I already said it before as I was discovering the web component in docs and the playground before: These web components are super easy to use but seriously powerful! The Graph Team promises to make app development faster and easier as we can work with pre-built bricks, that perfectly fit into each other and no need to reinvent the wheel every single time.
From my perspective as a maker I need to say that I really like this approach as it matches my experience which I have on Power Platform. It’s a good idea to be already familiar (or make yourself at least now familiar) with permissions, as different actions require different permissions.
So now excuse me while I try out the different components 🙂

What’s next & Feedback
This is the first part of a blog series about my personal experiences learning about the MGT — once the team released new parts I will catch up and write about my experiences.
You can continue reading about my journey here in part 2 of this series
So stay tuned, connect with me on twitter and please share your feedback. If this article was helpful for you, please clap so I know what you are interested in. If you have any other thoughts or recommendations or cool learning resources related to MGT please tell me 🙂

My name is
Luise Freese
You May Also Like

With great power comes great responsibility: Ensure that Microsoft Teams Owners are digitally literate
Uncle Ben was right — and if we translate this famous quote into our Microsoft 365 universe we know: If we give users great tools with great power, we also need to make sure to properly skill them up. …
How to learn sketchnoting even if you can’t draw and what sketchnotes taught me
in this blog post I will show you how to start sketchnoting and how I overcame a lot of false beliefs. I often hear the following reasons why someone believes that he/she can’t begin to sketchnote: 1. …

TimeTracking Tool with #PowerPlatform and Adaptive Cards
In this blogpost I would like to show you some easy steps with which you can not only track the time you spend on a project and it’s different tasks, but also share this with team members or even your …