How to build a FAQ chatbot for Microsoft Teams with Power Virtual Agents
How to build an FAQ bot for Microsoft Teams with Power Virtual Agents in minutes
In this blog I want to show you, how you can build, test and publish an FAQ bot for Microsoft Teams within minutes. We will use the Power Virtual Agents for Teams, which means, that you will not need any additional license to your Microsoft 365 license, for reference see also Power Virtual Agents for Microsoft Teams plan.
What is Power Virtual Agents?
Power Virtual Agents belongs like Power Apps, Power Automate and Power Bi to the Power Platform (wow, that was a powerFULL sentence 😇). You can create chatbots, which can interact with users in apps and websites, trigger workflows and more, without the need of writing code. You can choose if you want to use it in the Power Virtual Agents standalone web app or as app within Microsoft Teams.
Let’s build a bot
I will guide you how to create an FAQ bot. To feed our bot we will need some FAQ so that our can bot can learn them. I will use FAQ regarding licensing 🤓, but you can choose any FAQ from a website or PDF or even Word file that you like.
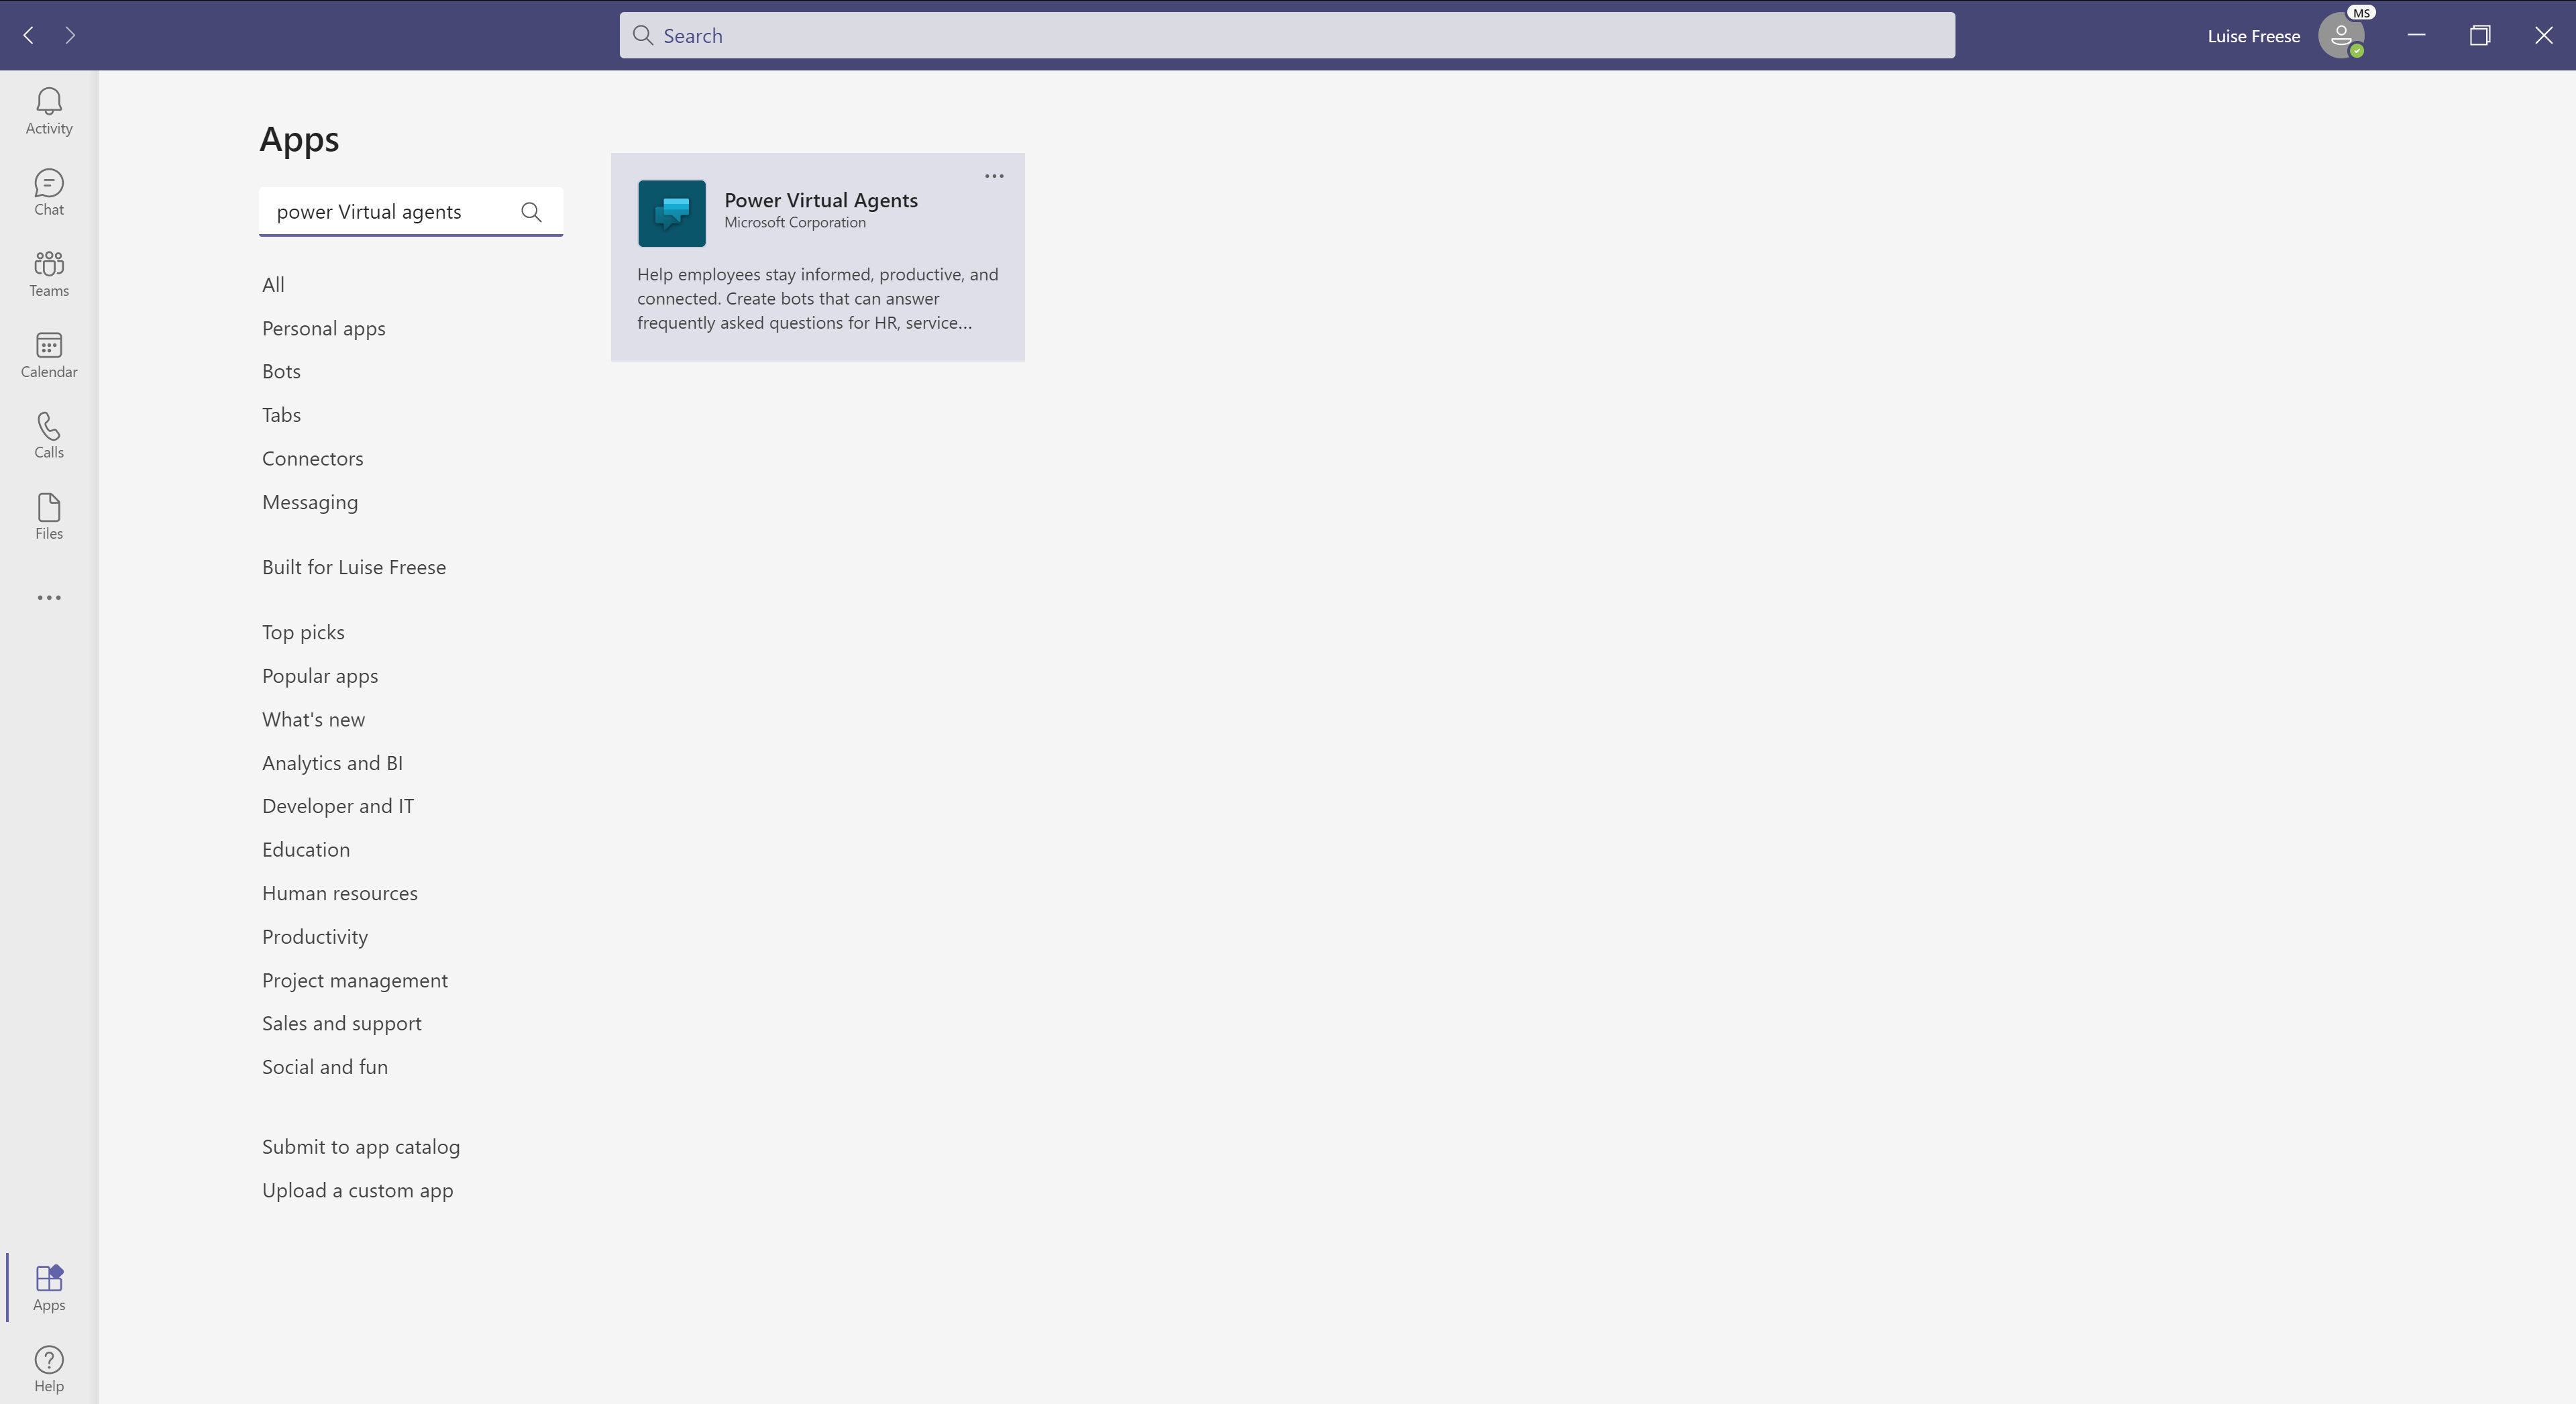
- Open Teams
- Click on the Apps icon
- Search for Power Virtual Agents
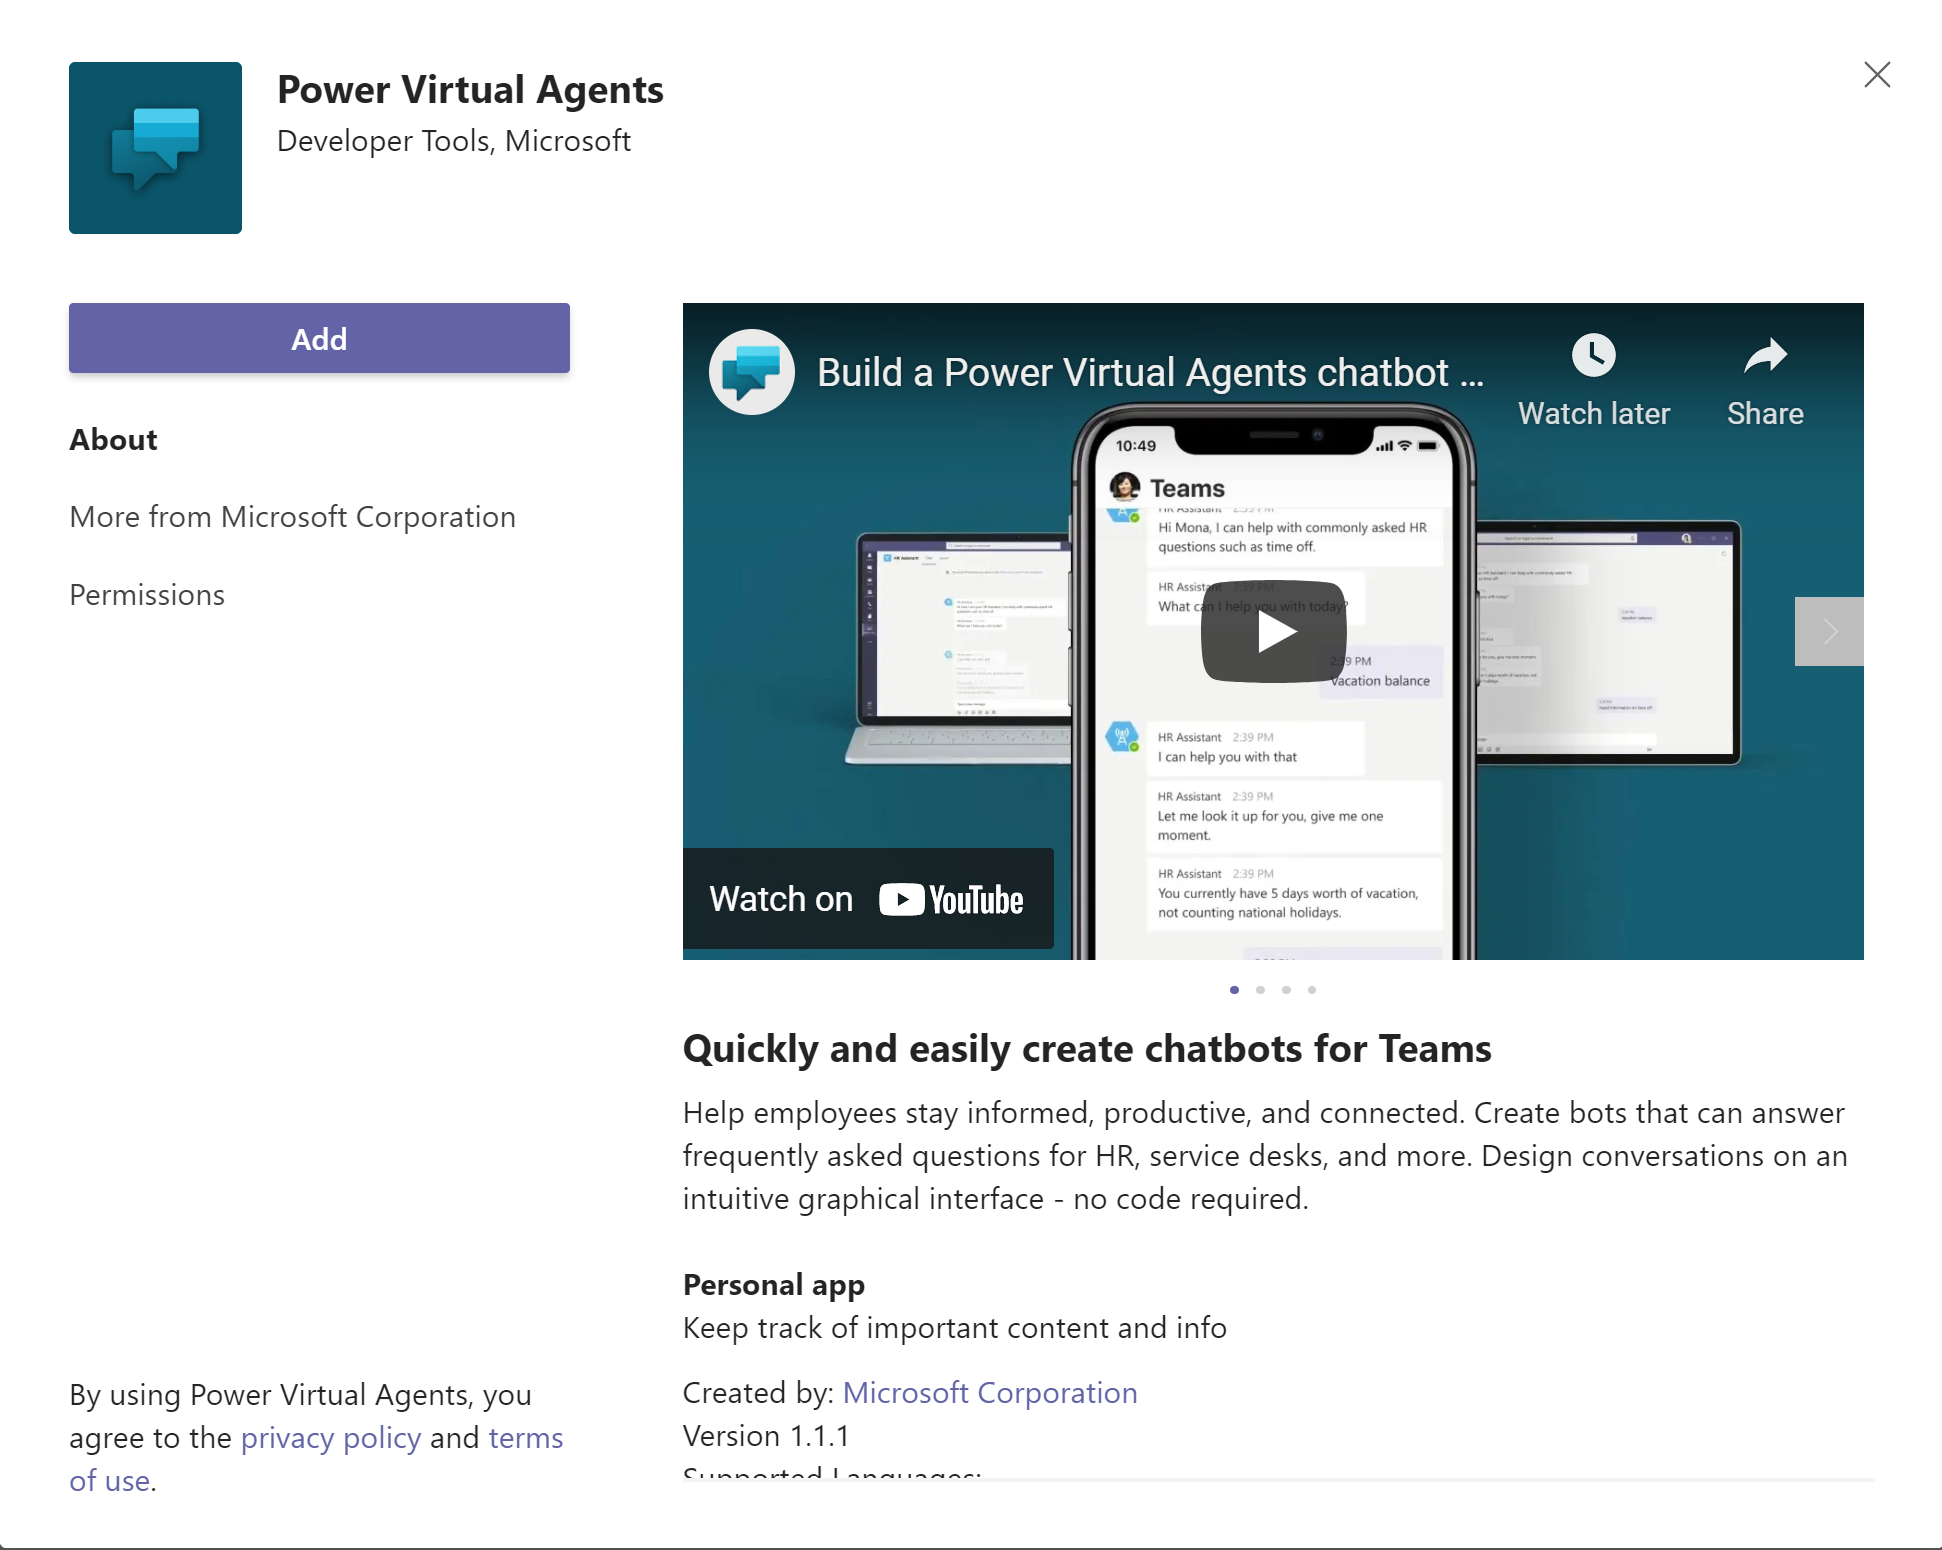
- Click Add
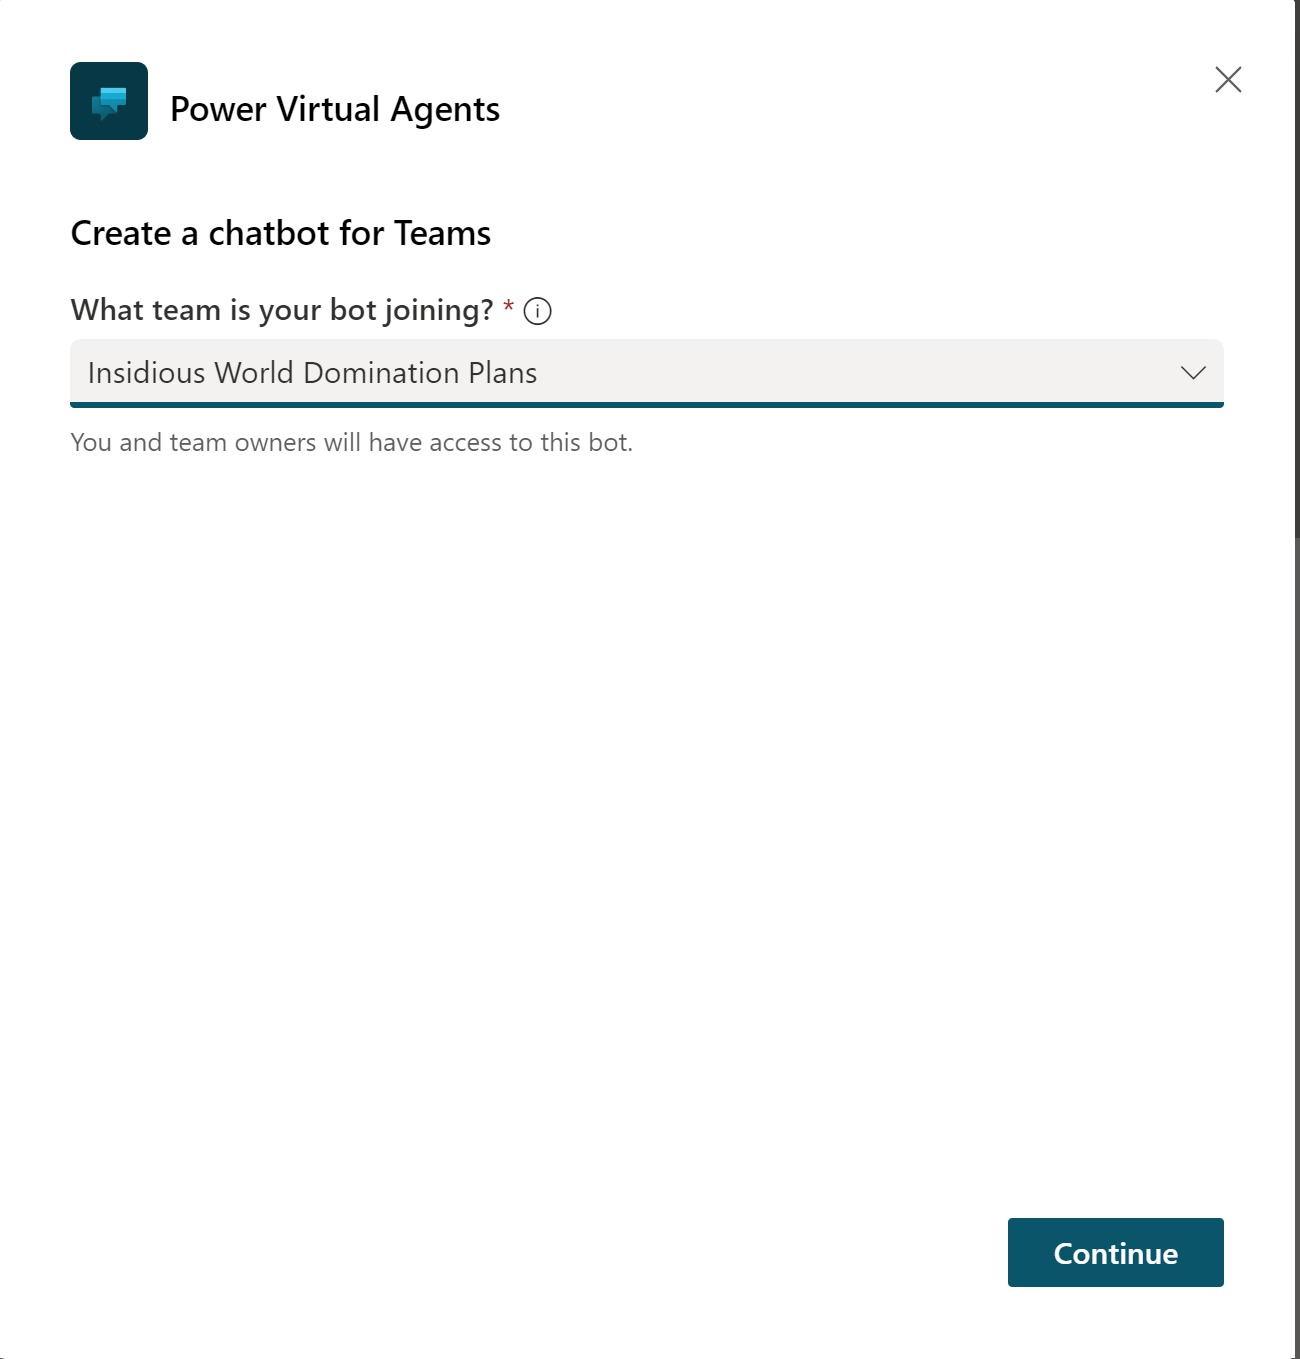
- Select the Team you want your bot to join
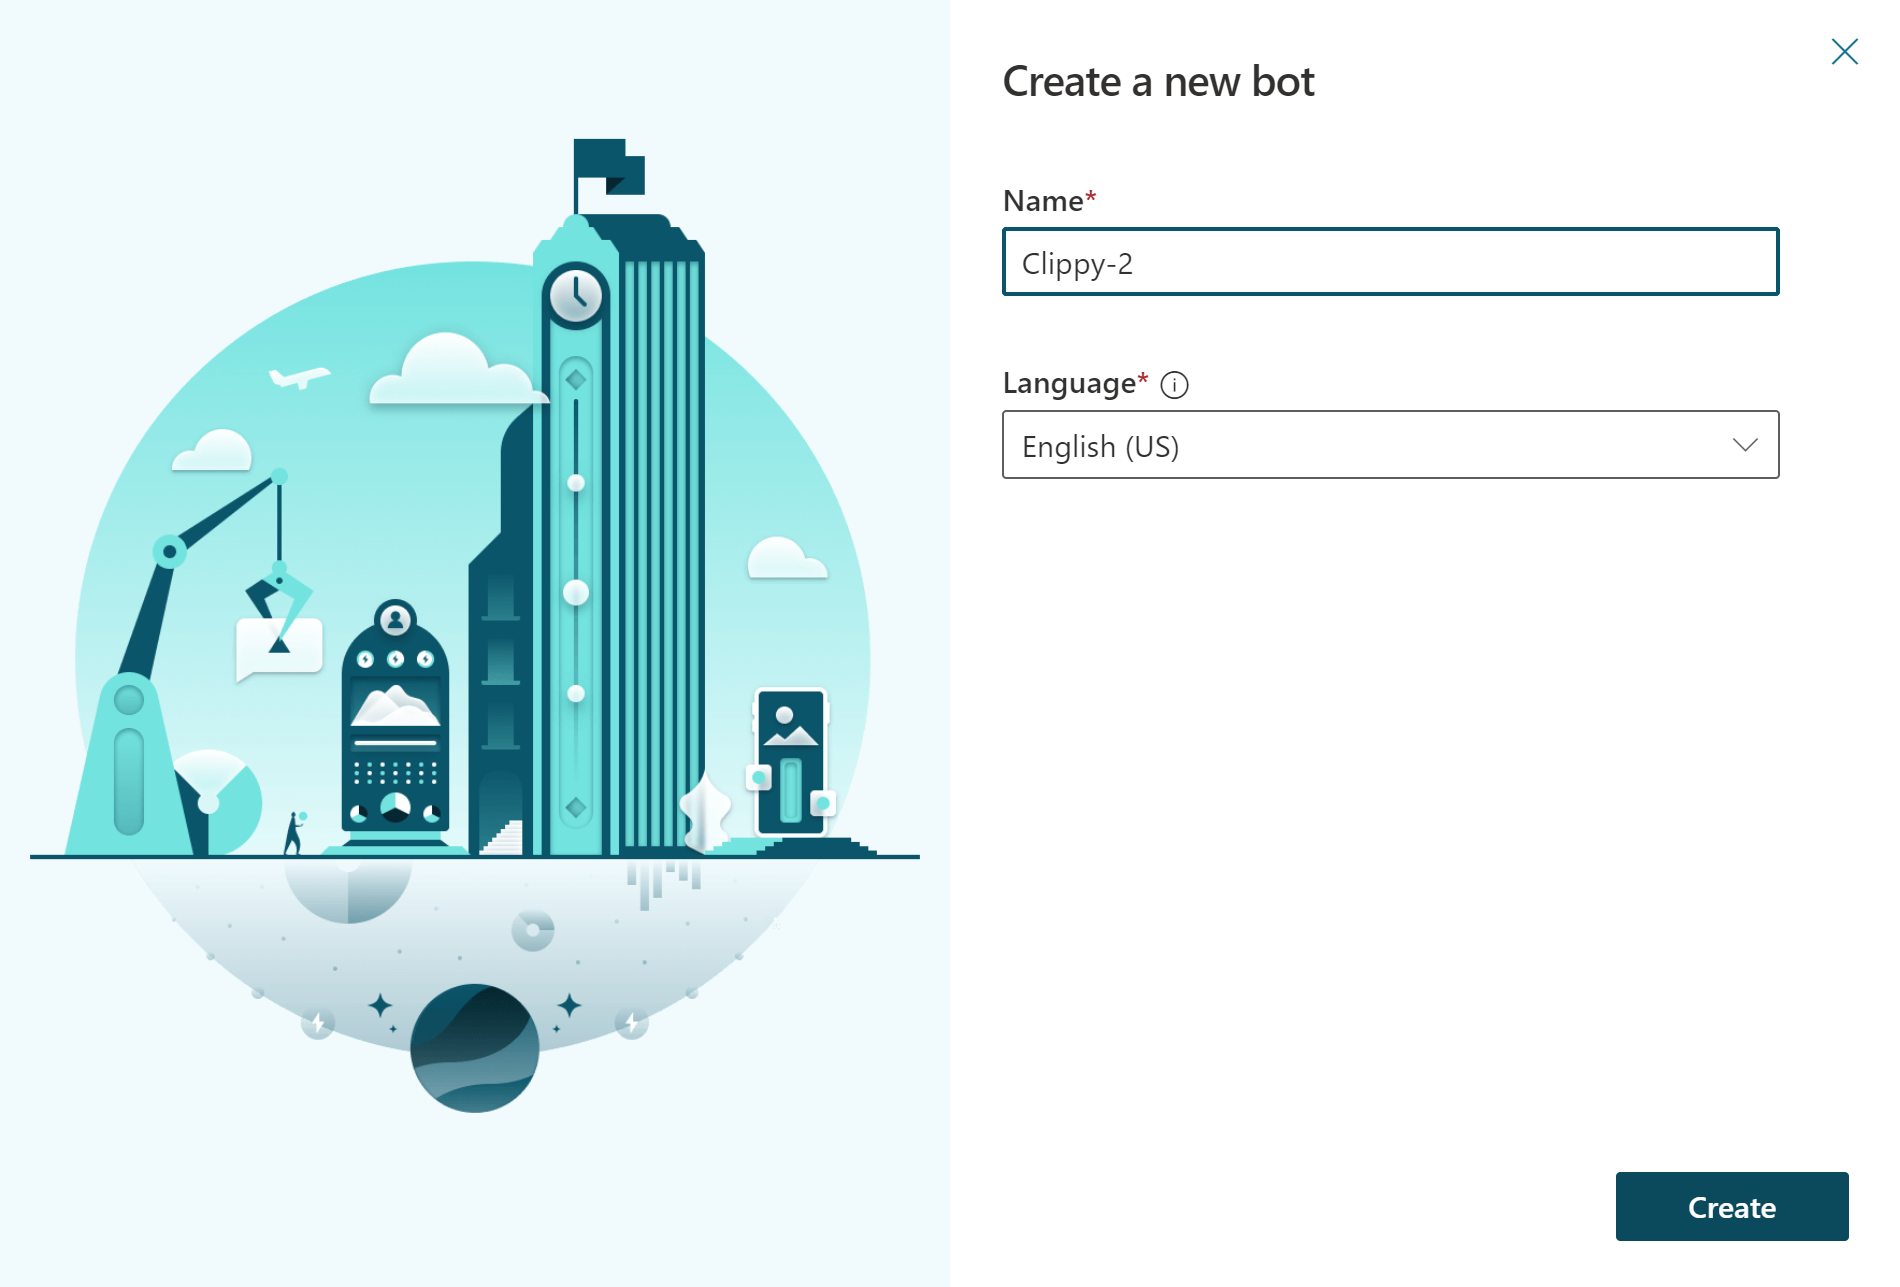
- Give your bot a name ans select a language that your bot shall understand (should be the same language as your FAQ)
- Click Chatbots - here you get an overview of ALL your chatbots
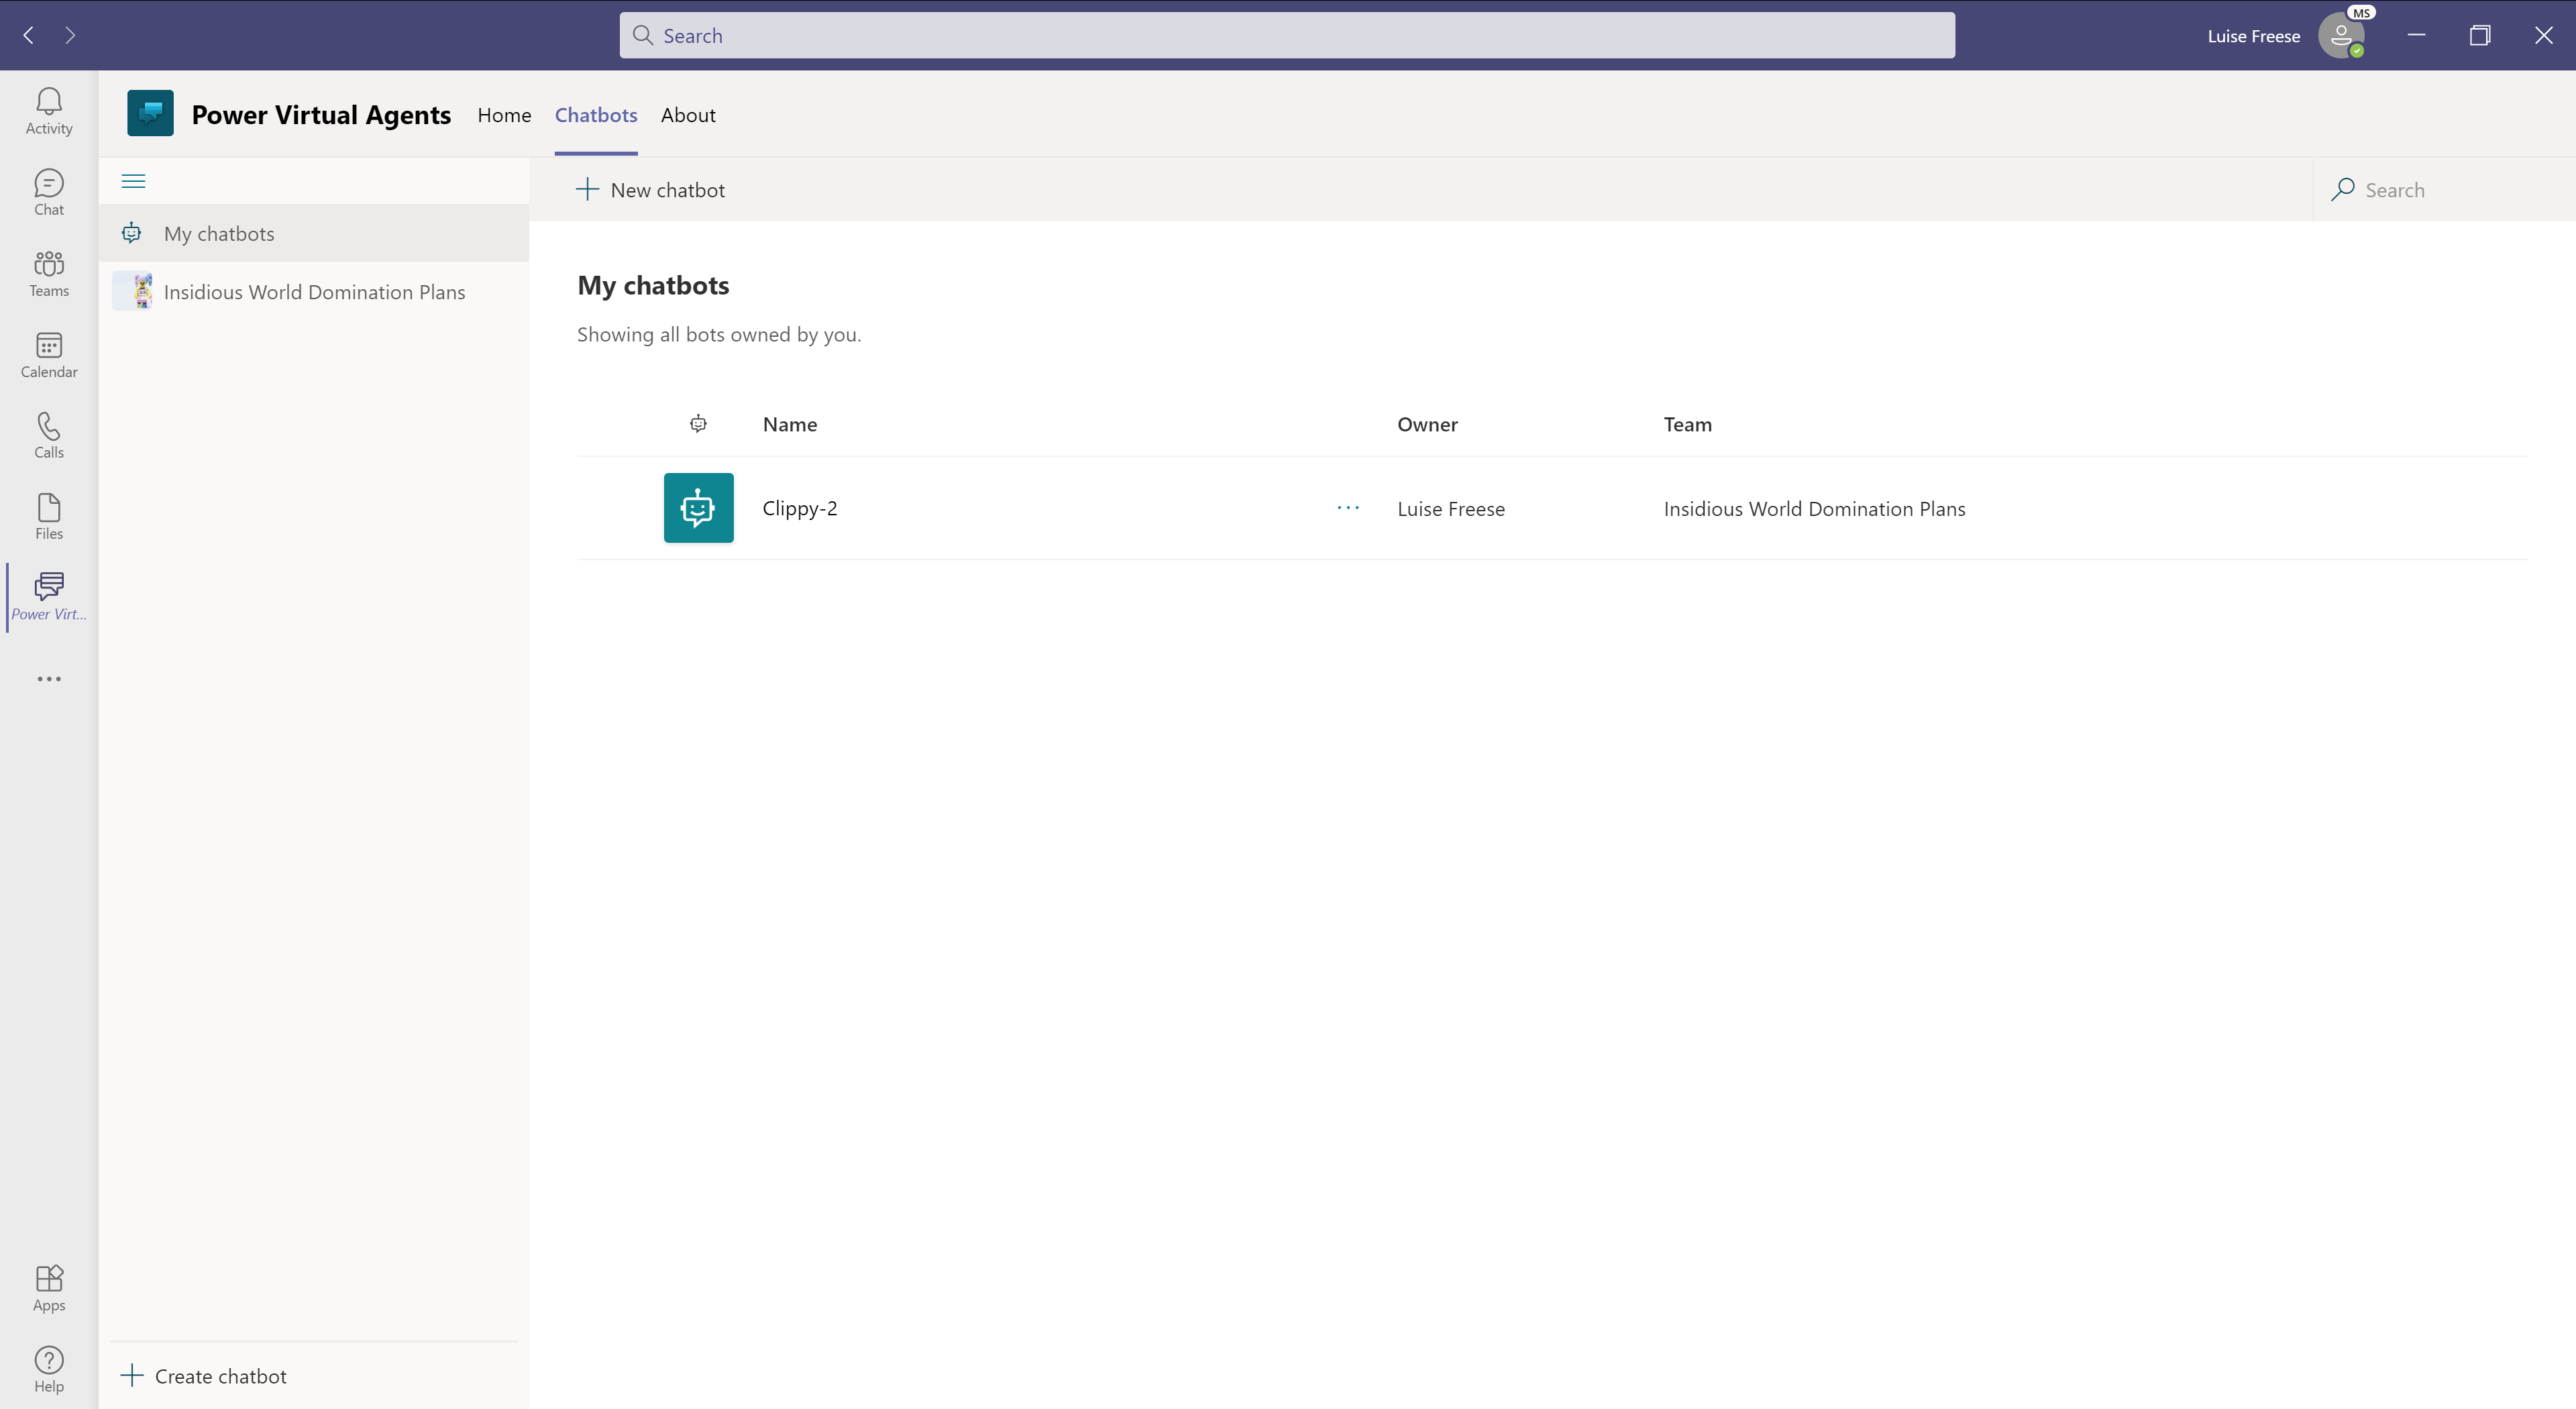
Add topics from any website
- Click Topics

You see, that some basic topics are already created for you. You can take a look later.
- Click Suggested
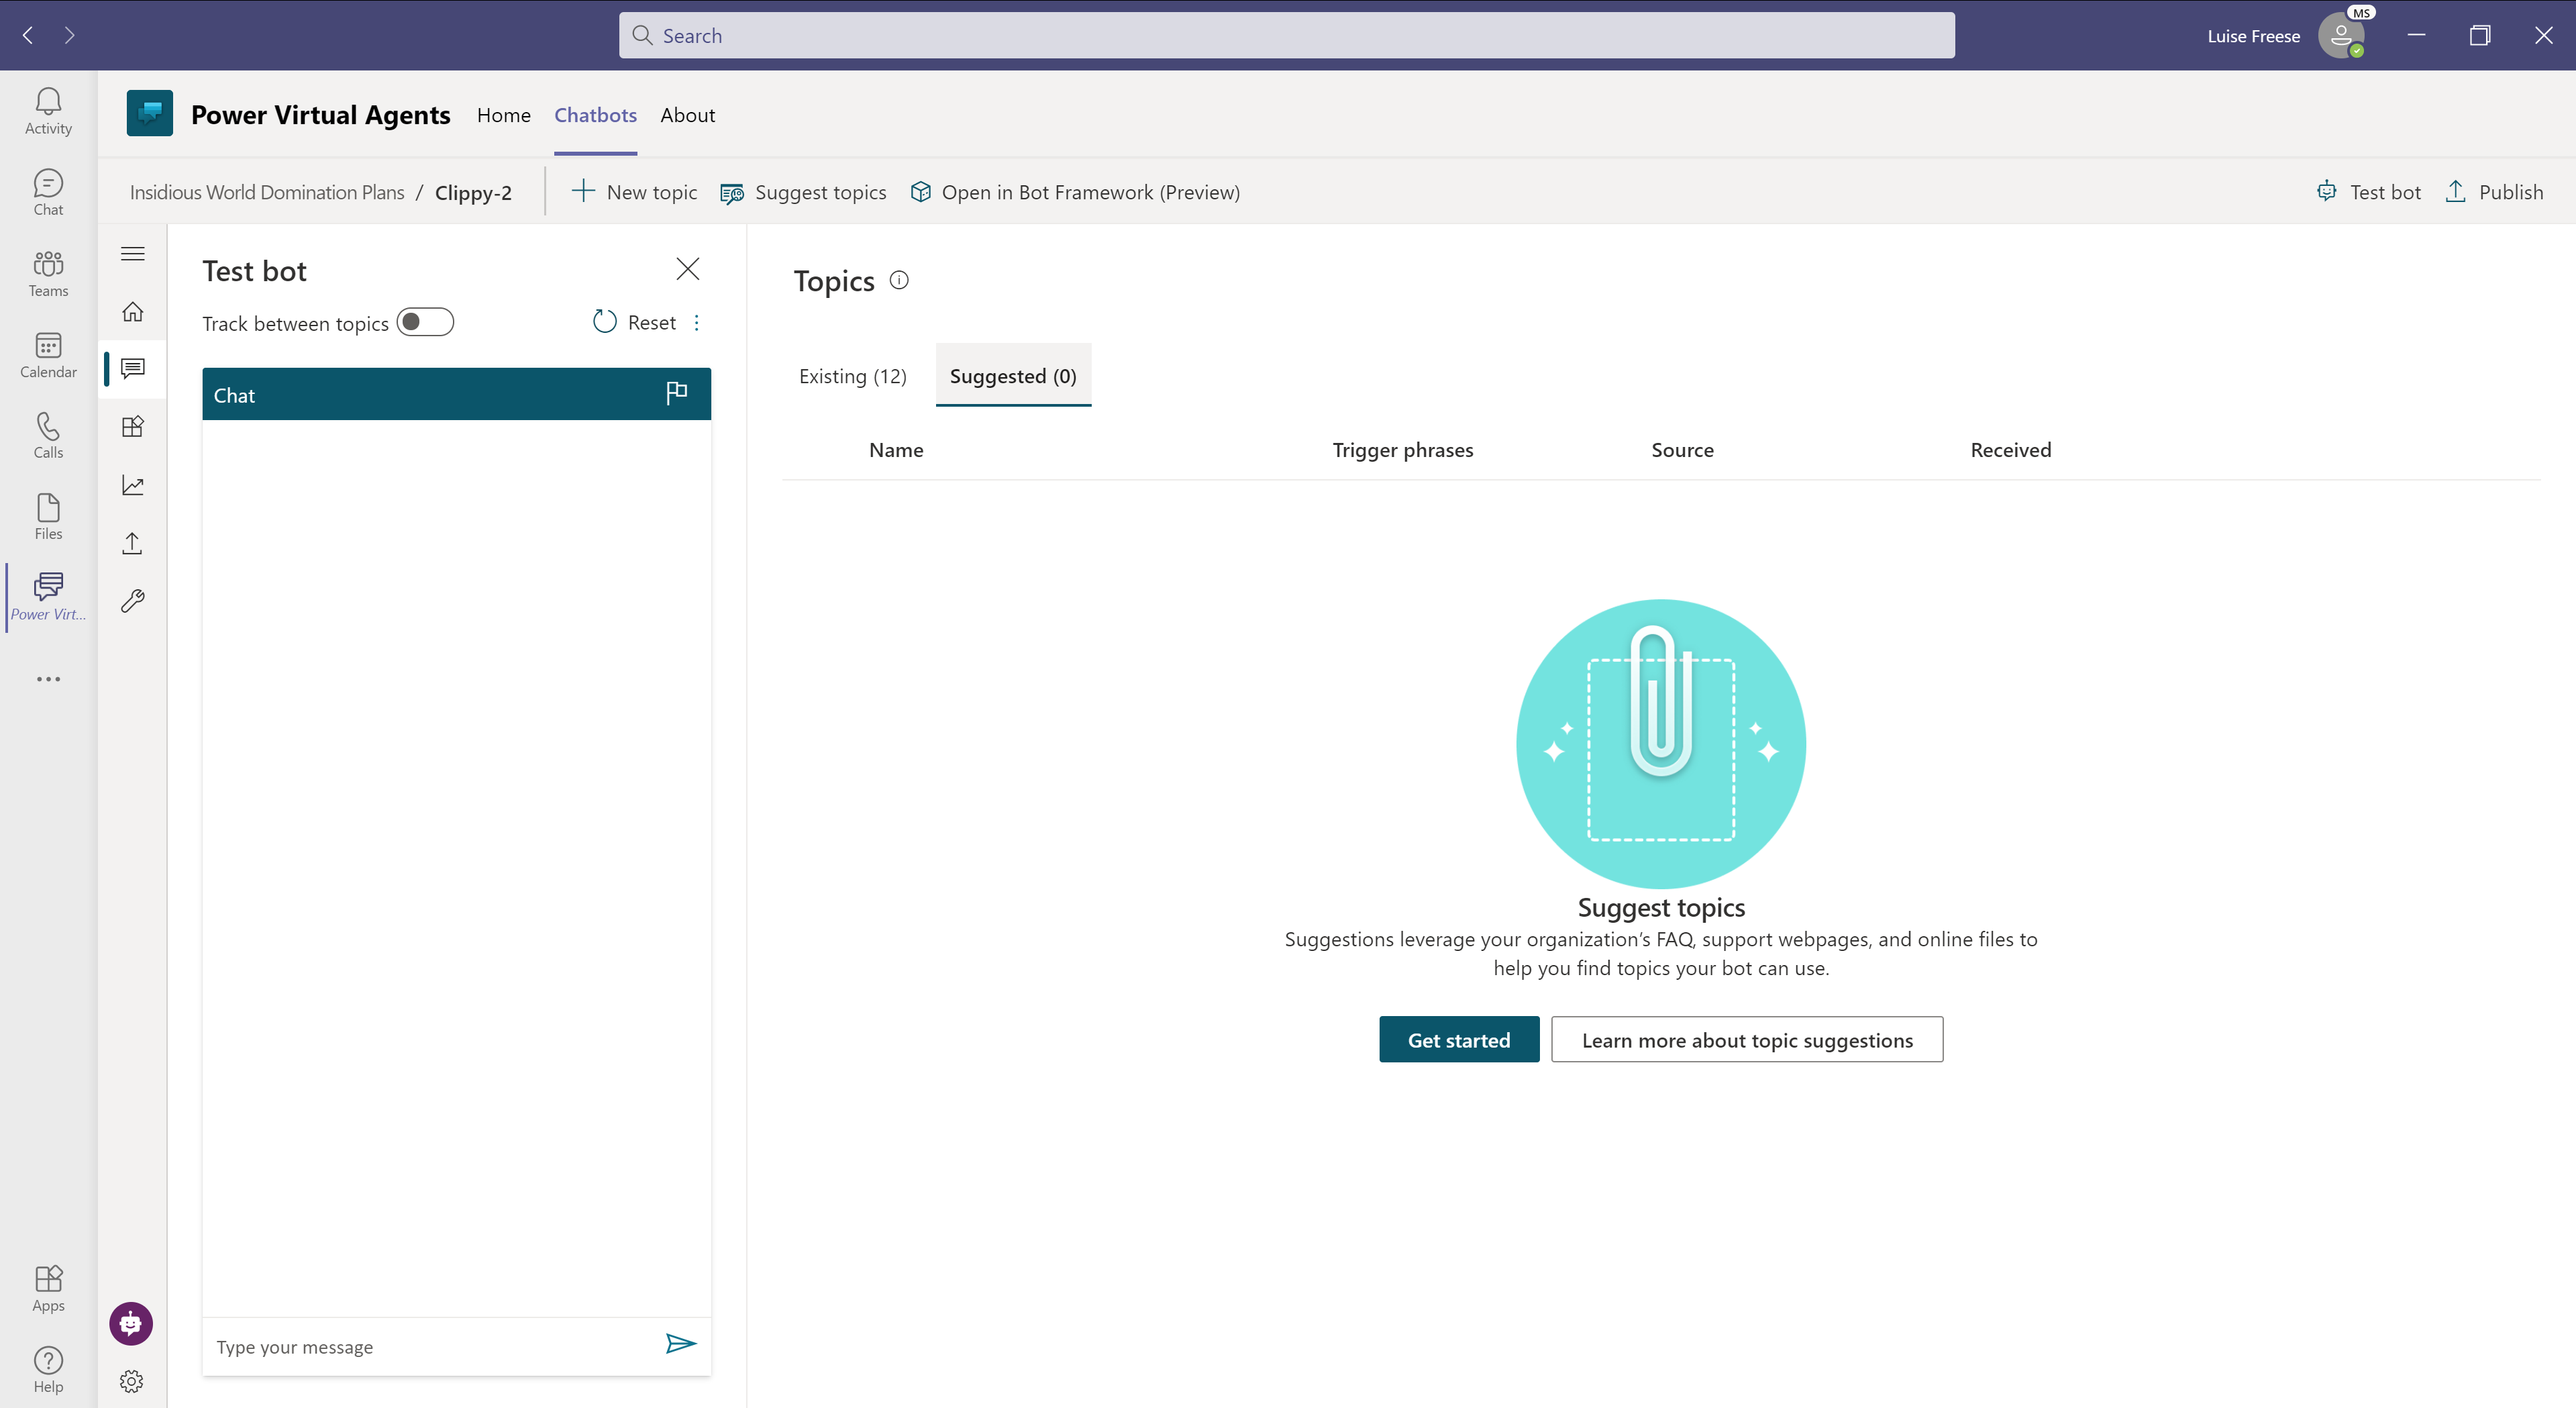
Now we want to work on feeding our bot with the FAQ from the website that we selected.
- Copy the URL of the FAQ website
- Paste the URL into the Link to online content field
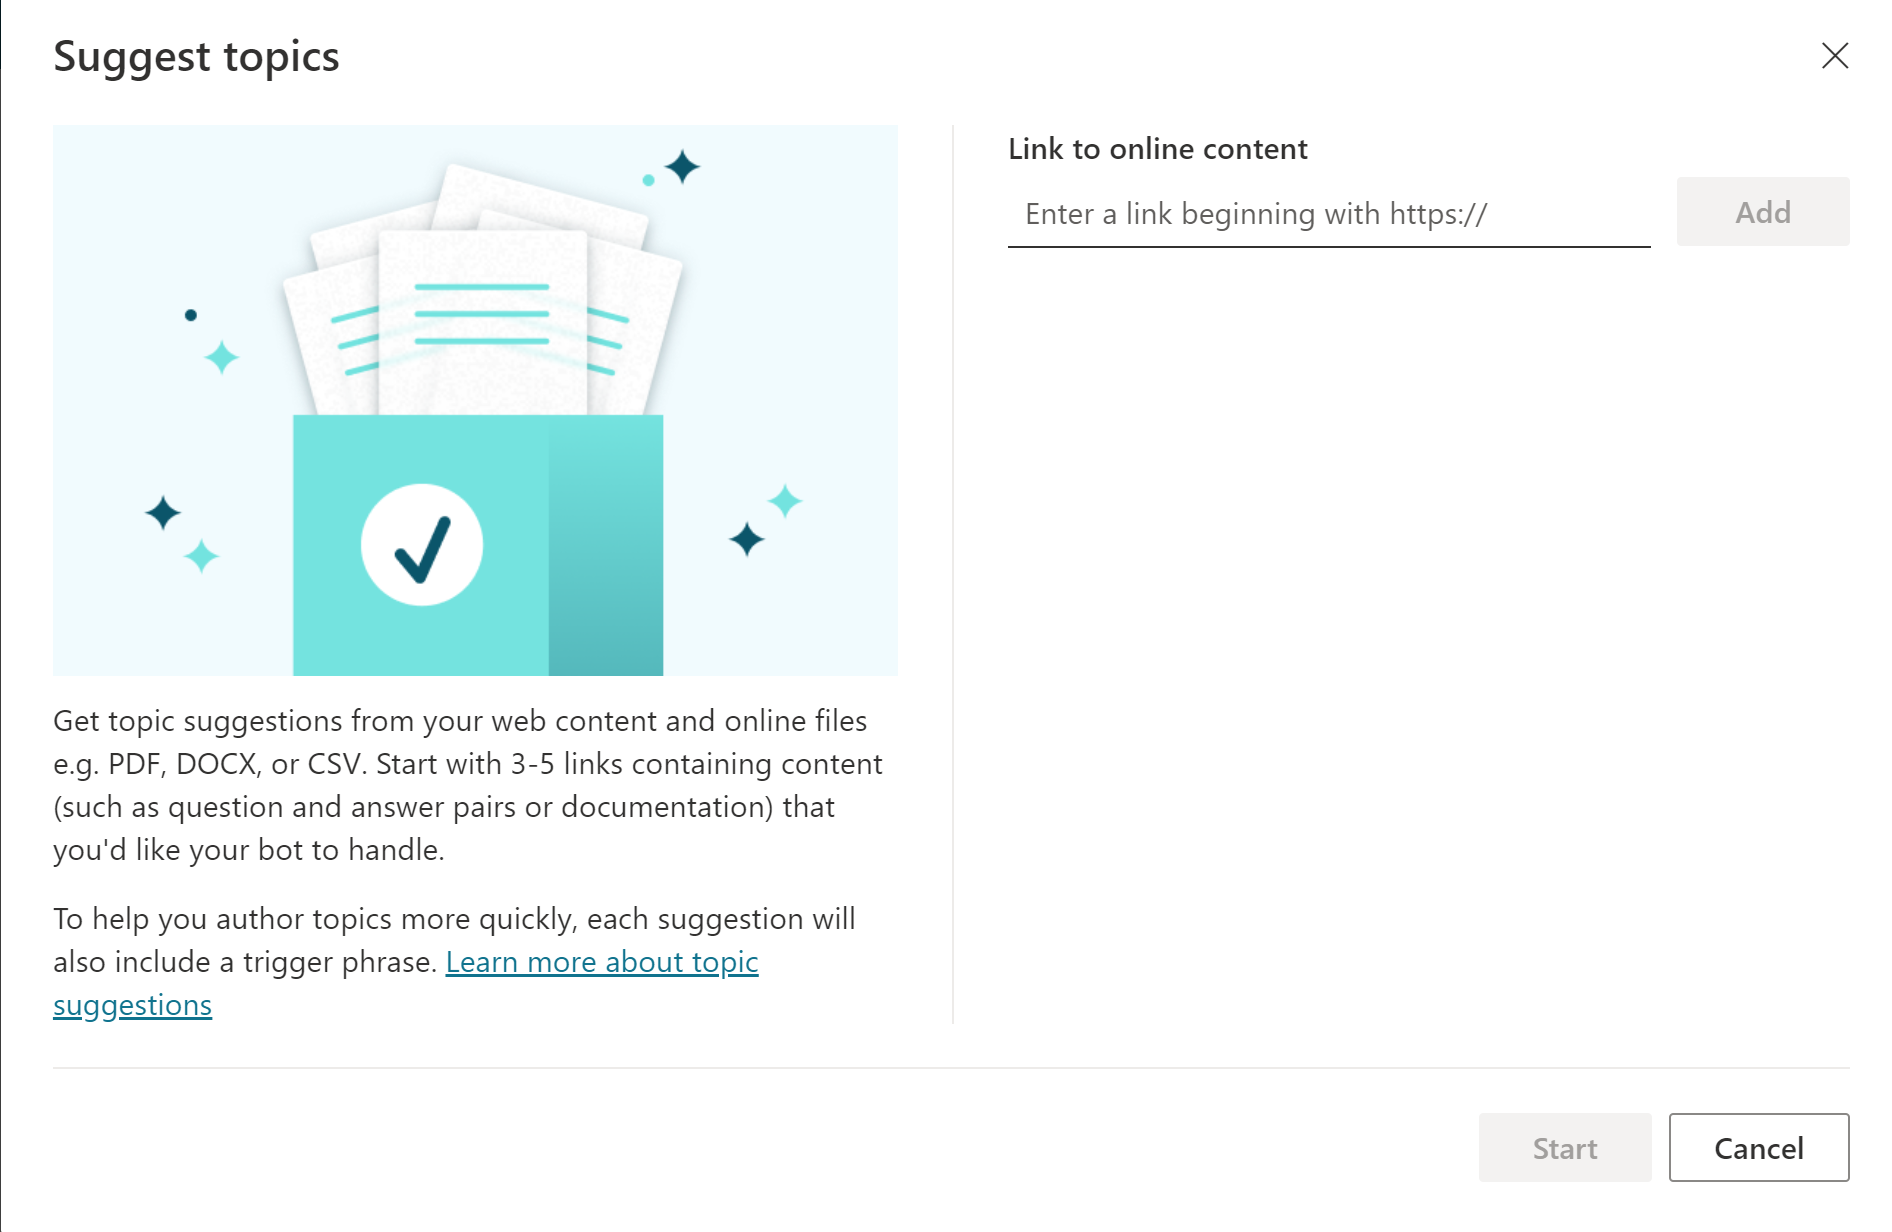
- Click Add
- Click Start
This may take now a couple of minutes. Grab a coffee in the meanwhile: ☕. Soon you will see the message that your new suggested topics are now in:

Review & edit topics
You can now review and edit each topic:
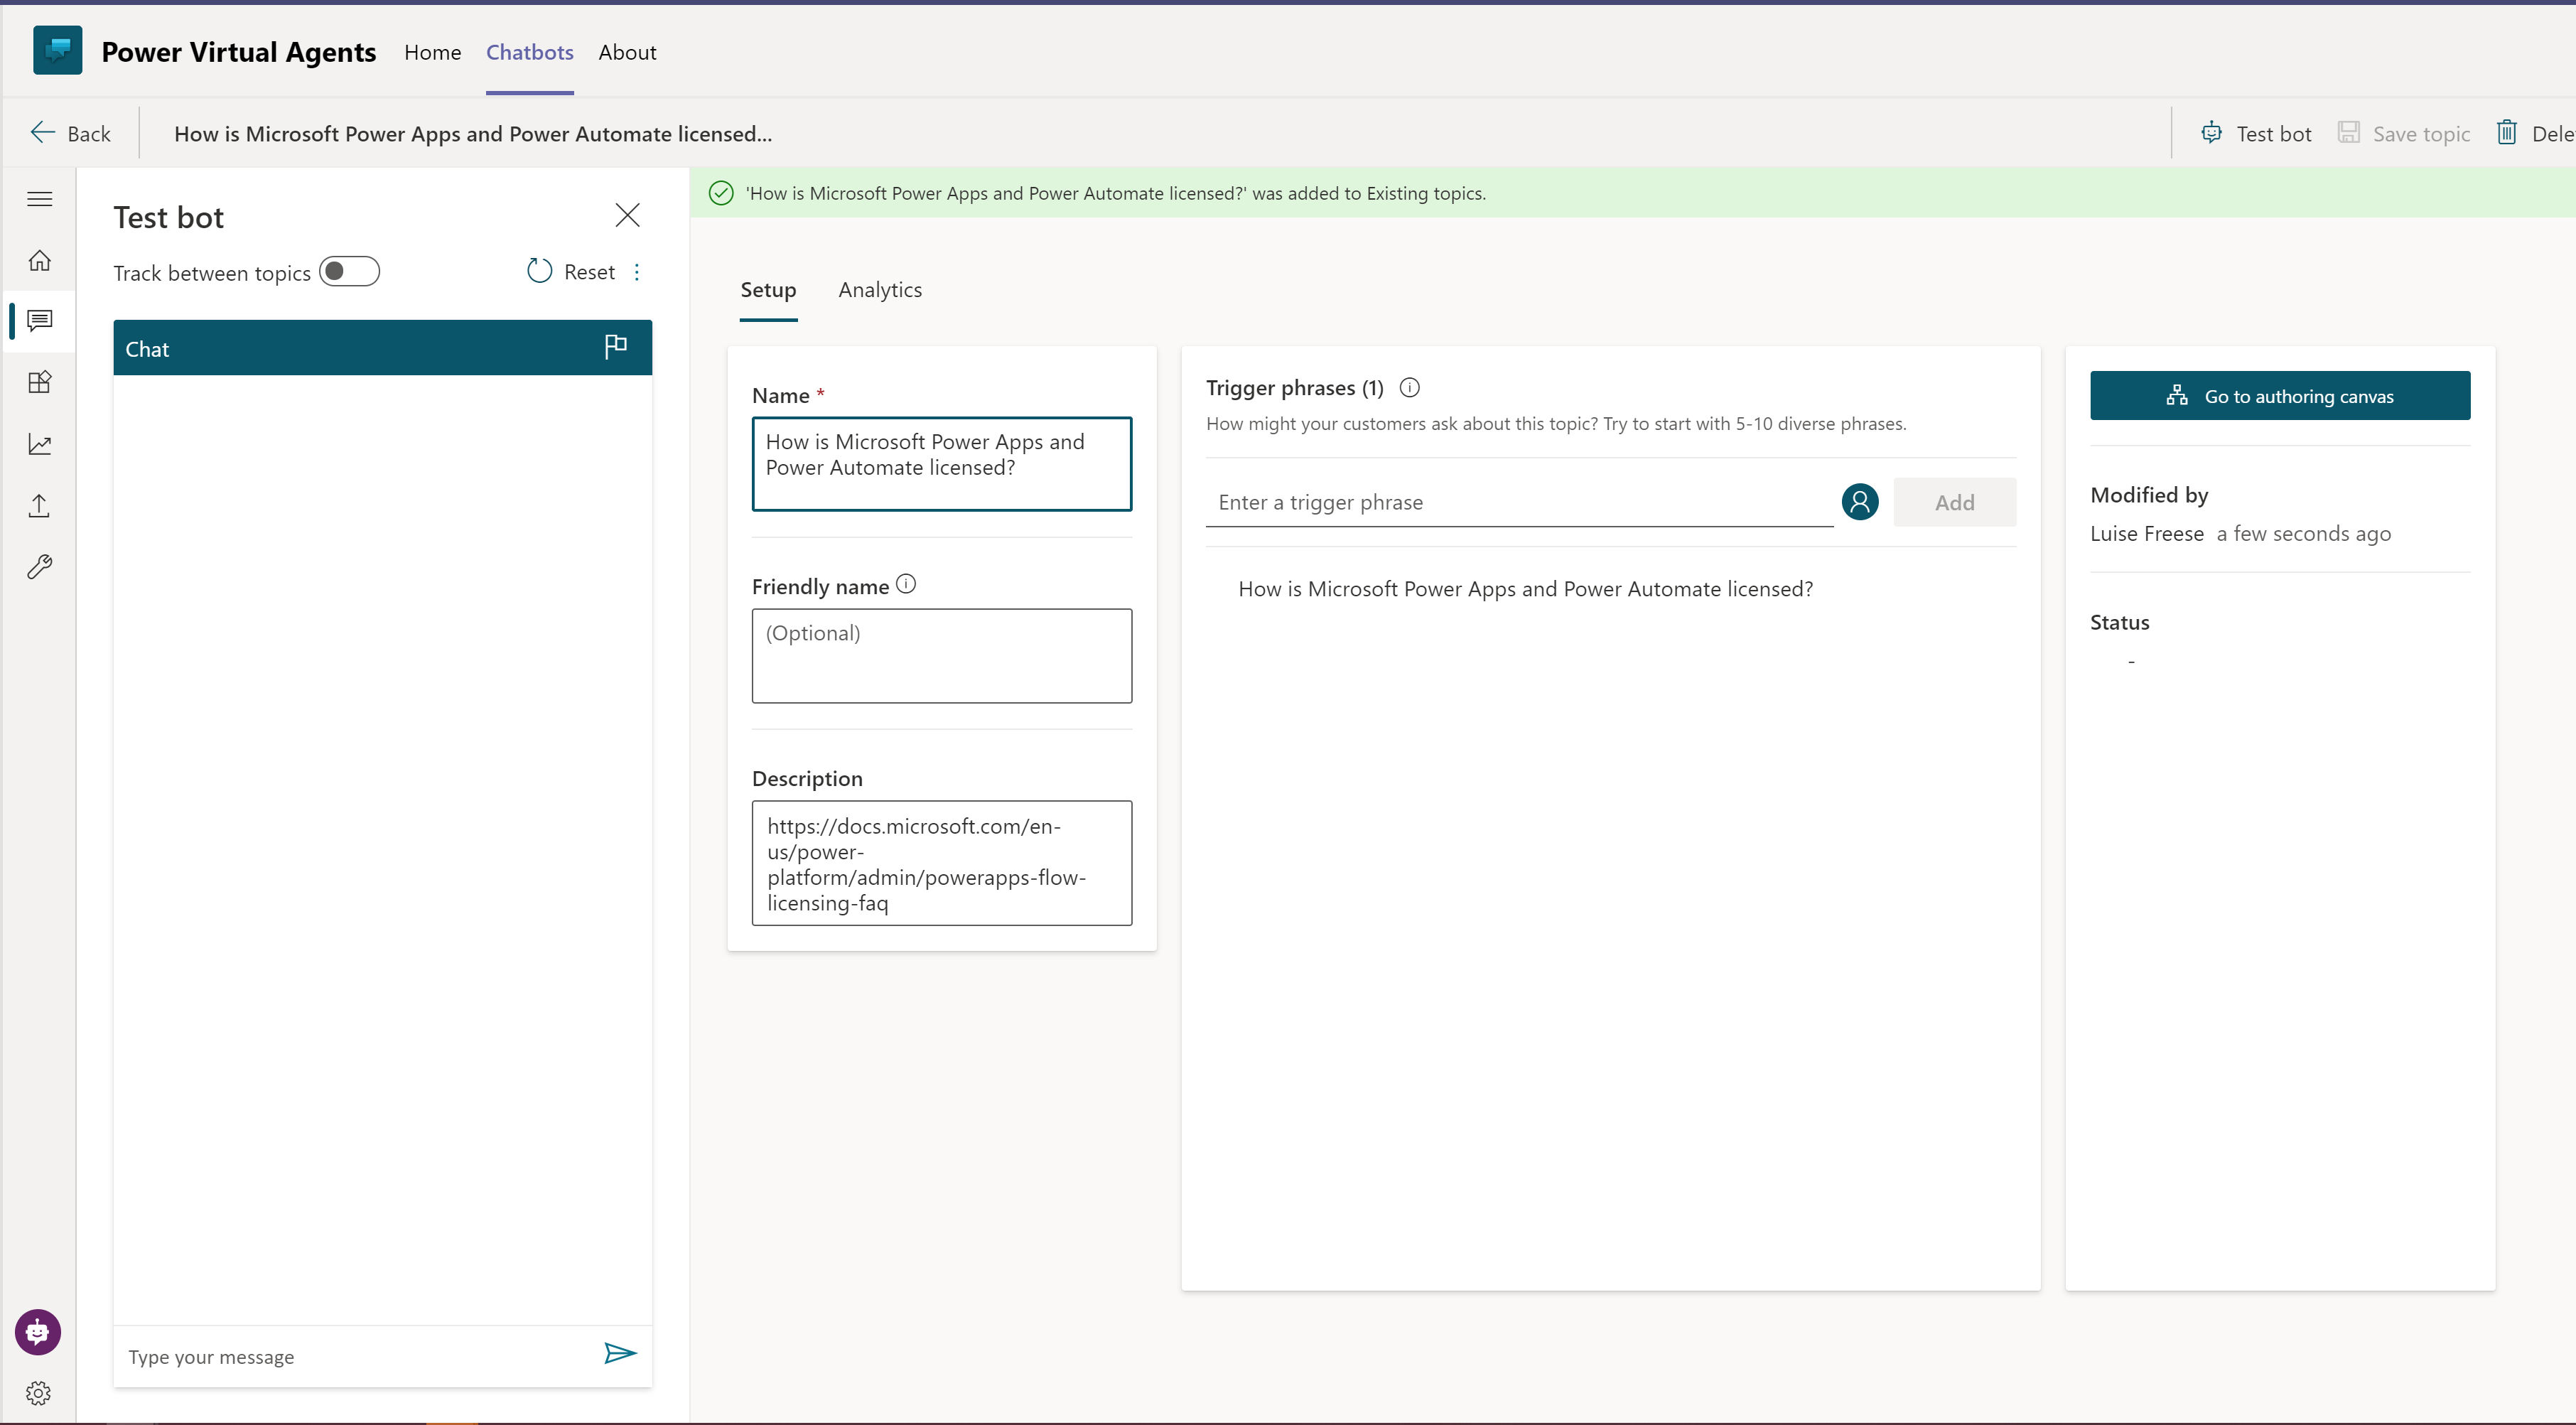
- Click Save Topic
After you are done with reviewing and editing your topics, you will need to turn on the topics
- Switch the toggle to on

Train your bot by entering more trigger phrases. This way, it is more likely that the Chatbot understands users asking questions even if they don’t exactly match the trigger phrases.
Time to test the bot!
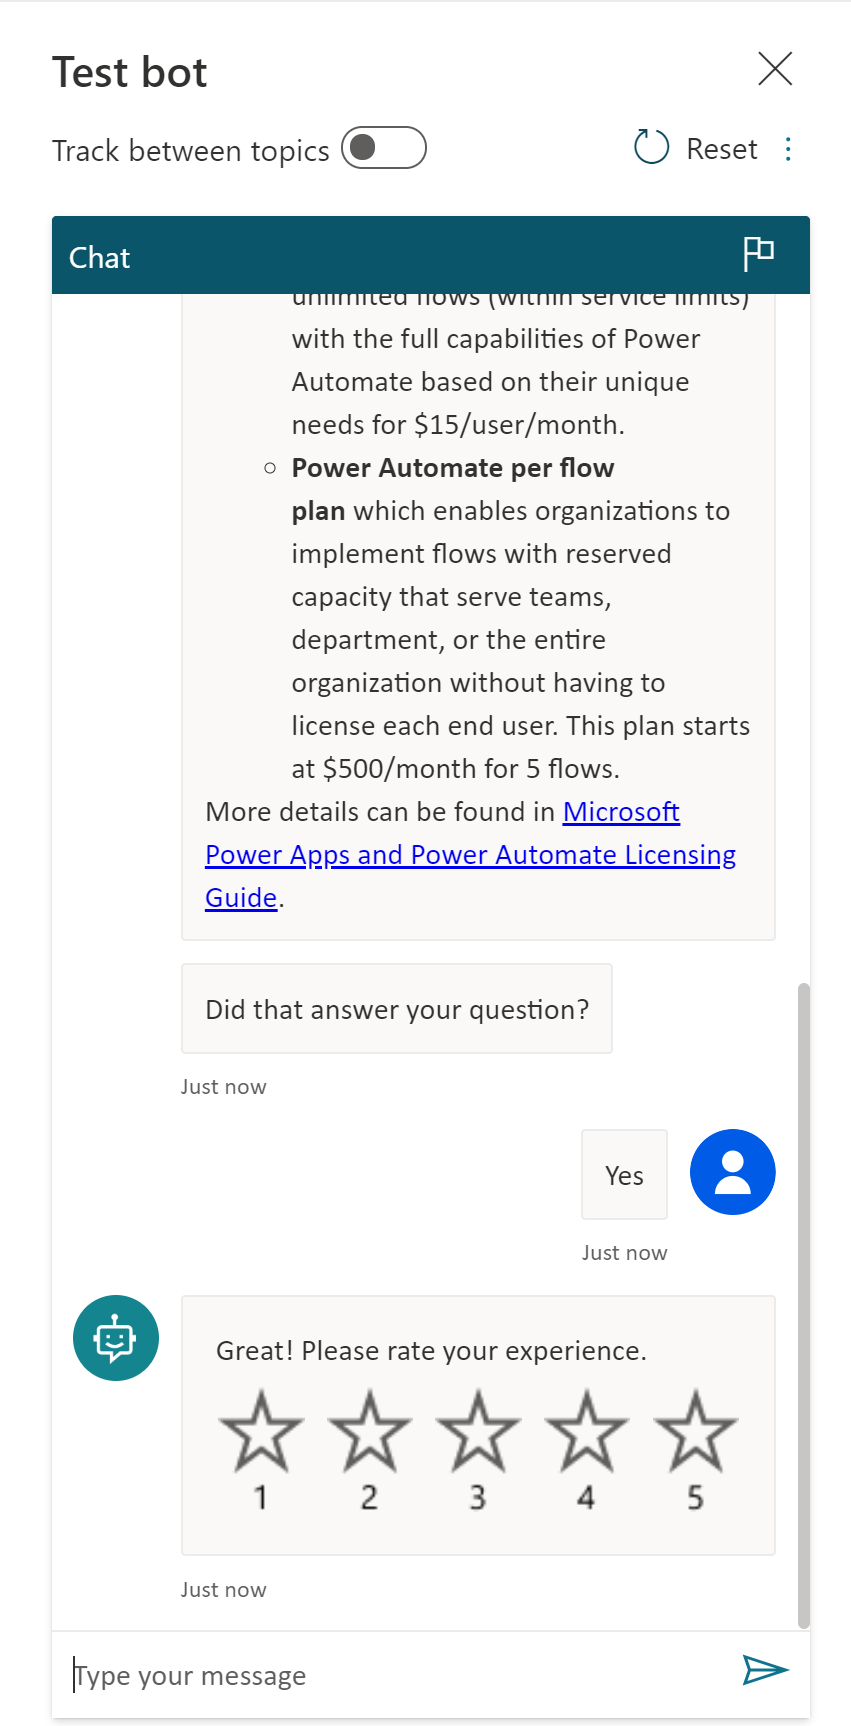
You can now review and edit your topics until you are happy with the results.
Publish your Bot to Microsoft Teams
- Click the Publish icon

- Click Add

- Click Add to Teams
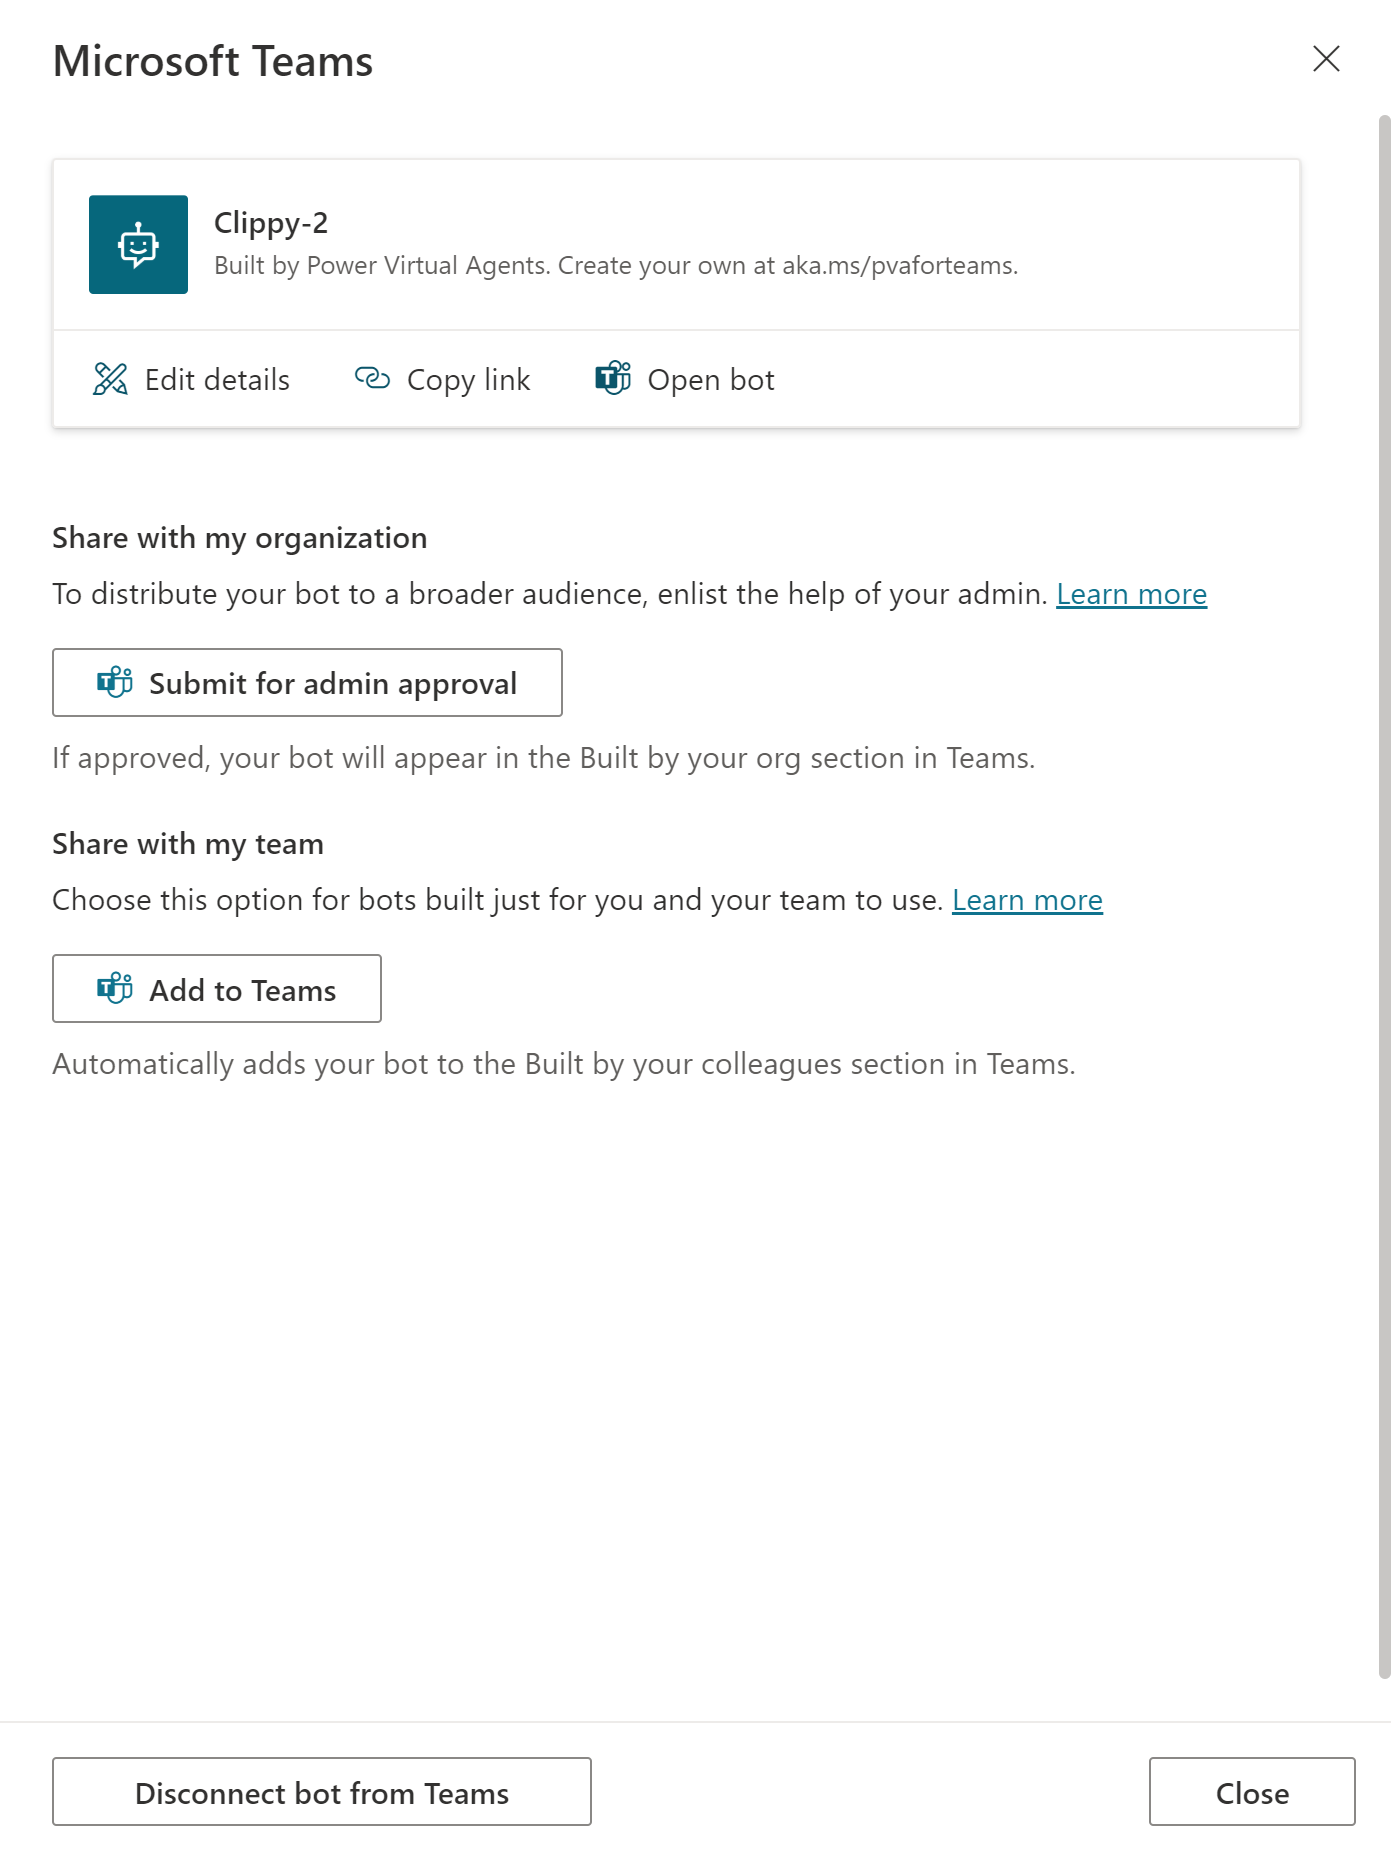
- Use your bot

Conclusion & what’s next
It took us only a few minutes to create, test and publish a chatbot, that now works inside of Microsoft Teams. Want to do some more? We could extend the capabilities of our Power Virtual Agents bot: Let’s say our bot can’t answer a question and needs to transfer the chat to a human agent, who will answer that question. What if we trained the bot with that answer so that our bot gets smarter over time? I will cover that in one of my next blog posts. What do you use chatbots for? Did you already try to make a 5 minute bot? Please share below :)
You May Also Like
How to use a custom connector in Power Automate
How to create a custom connector in Power Automate Power Automate is a super cool tool, which gives us a lot of options. But sometimes, the built-in connectors, are not enough. In one of previous …
How to get started with CLI Microsoft 365 and Adaptive Cards
How to send Adaptive Cards with CLI Microsoft 365 In this blog post I want to explain how you can send an Adaptive Card with CLI Microsoft 365. I will guide you from zero to hero 🚀, so even if you …
How to get started with HTTP requests in Power Automate
How to get started with HTTP requests in Power Automate If you ever wondered what is an HTTP request and why you would want to know how this works - this post is made for you. What is a HTTP request …


