How to add Azure AD directory extensions
tl;dr
If you want a a queryable extension experience for objects in Azure AD, you can achieve that by first creating the extension definition and then associate that new extension to an object. You can now GET and PATCH the new extension via your applications ins the same tenant and even expose the new extension with a custom connector to Power Platform.
Use case
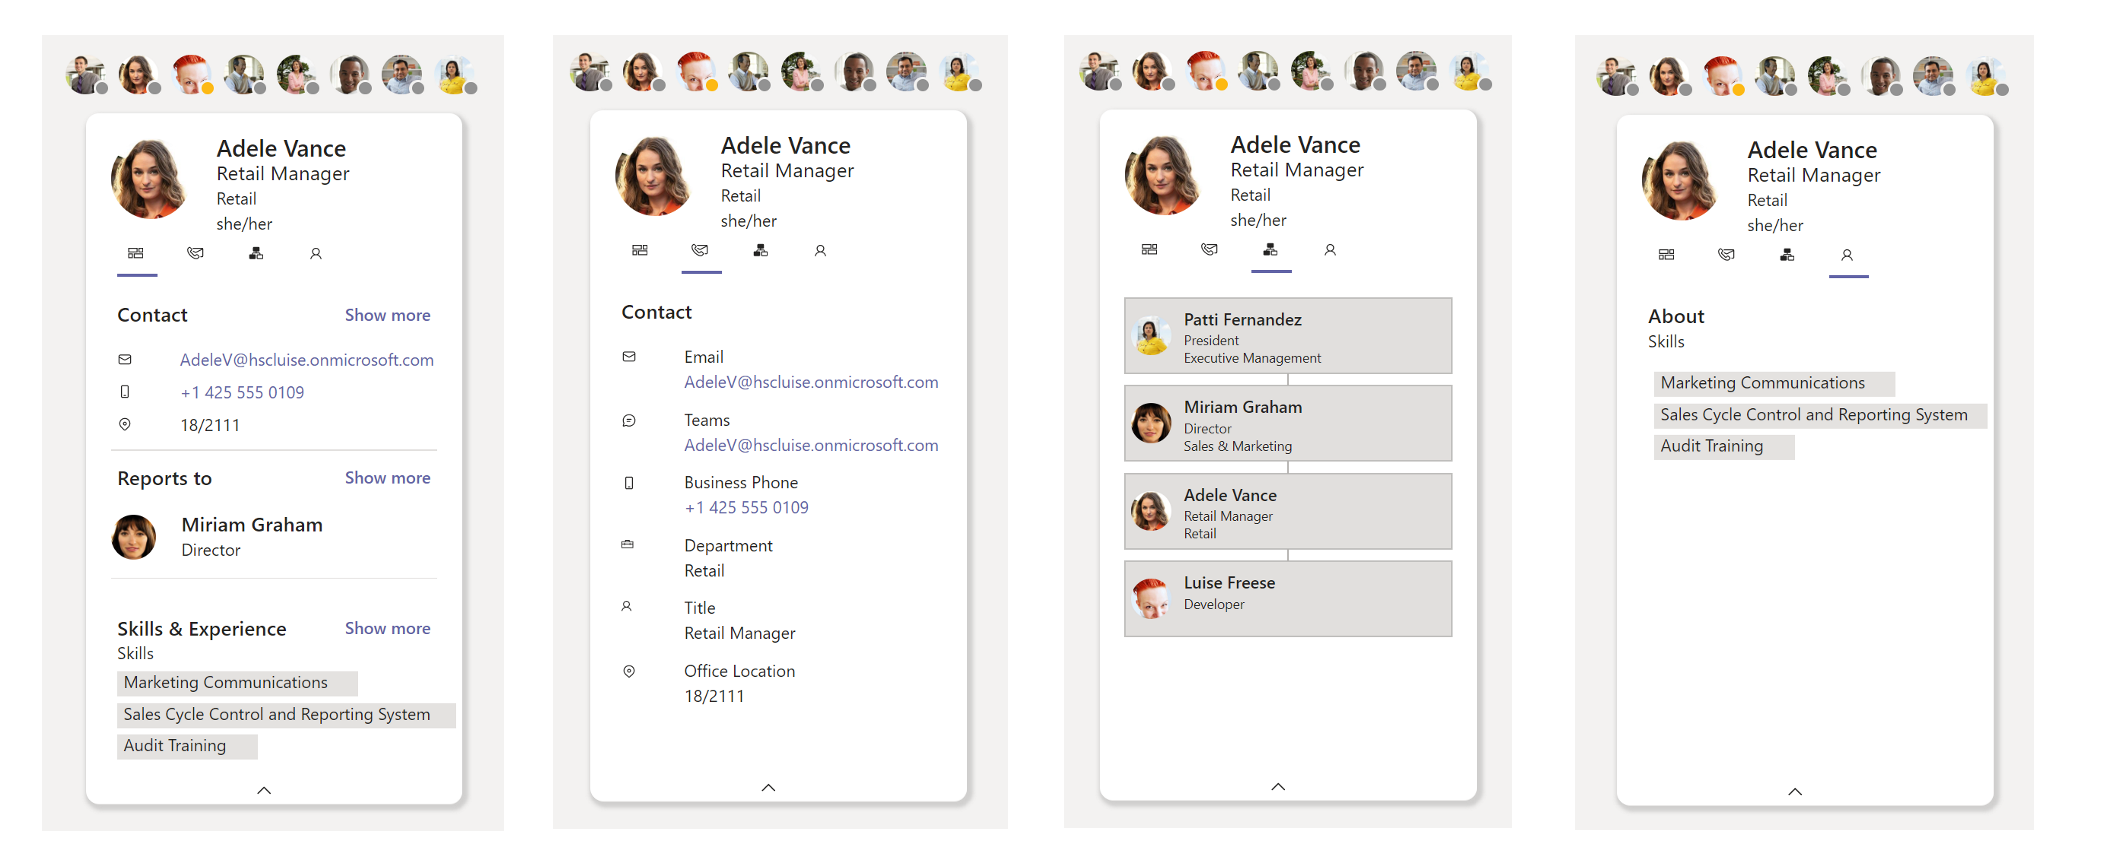
I wanted to build a Microsoft Graph toolkit lookalike person card, but noticed, that there is an attribute missing, that I’d love to include: pronouns. Turned out, that even in 2022, pronouns are not available by default in the user object in Azure Active Directory and my aim was to not just have pronouns of some people in one application, but expose the pronouns to any application in the tenant.

Create a directory extension definition
To create a directory extension definition, we need to send a POST request to https://graph.microsoft.com/v1.0/applications/<app object id>/extensionProperties, which means, that we need to register an app for that.
Register an application in Azure AD
You can register an app either in the Azure Portal or with this one-line-command in CLI for Microsoft 365:
m365 aad app add --name 'GraphConnector-App' --withSecret --apisApplication 'https://graph.microsoft.com/Directory.ReadWrite.All' --grantAdminConsent
Use Graph Explorer to create the extension
Now we can log ino Graph Explorer and do a POST to
https://graph.microsoft.com/v1.0/applications/<app object id>/extensionProperties
while replacing the <app object id> (not the app id!) with your app object id.
The body of the request is:
{
    "name": "pronouns",
    "dataType": "String",
    "targetObjects": [
        "User"
    ]
}
This means, that we want to create an extension called pronouns and associate this with the user object.
As a response, we will get something like
{
    "@odata.context": "https://graph.microsoft.com/v1.0/$metadata#applications('4e3dbc8f-ca32-41b4-825a-346215d7d20f')/extensionProperties/$entity",
    "id": "53645e93-9bad-4cfa-938c-eebaaa84d89f",
    "deletedDateTime": null,
    "appDisplayName": "GraphConnector",
    "dataType": "String",
    "isSyncedFromOnPremises": false,
    "name": "extension_8ceab131804c47278376509101e201c3_userPronouns",
    "targetObjects": [
        "User"
    ]
}
You can see, that we have a new property name with a value extension_8ceab131804c47278376509101e201c3_userPronouns
This new property can now be used from any application in your tenant
This value always follows the pattern extension_{appId-without-hyphens}_{extensionProperty-name}
Make a note of this value somewhere.
Patch a user with the new property
Now we can use a PATCH to https://graph.microsoft.com/v1.0/users/{userId}
with a body
{"extension_8ceab131804c47278376509101e201c3_userPronouns": "she/they"}
Check if the new property is in place
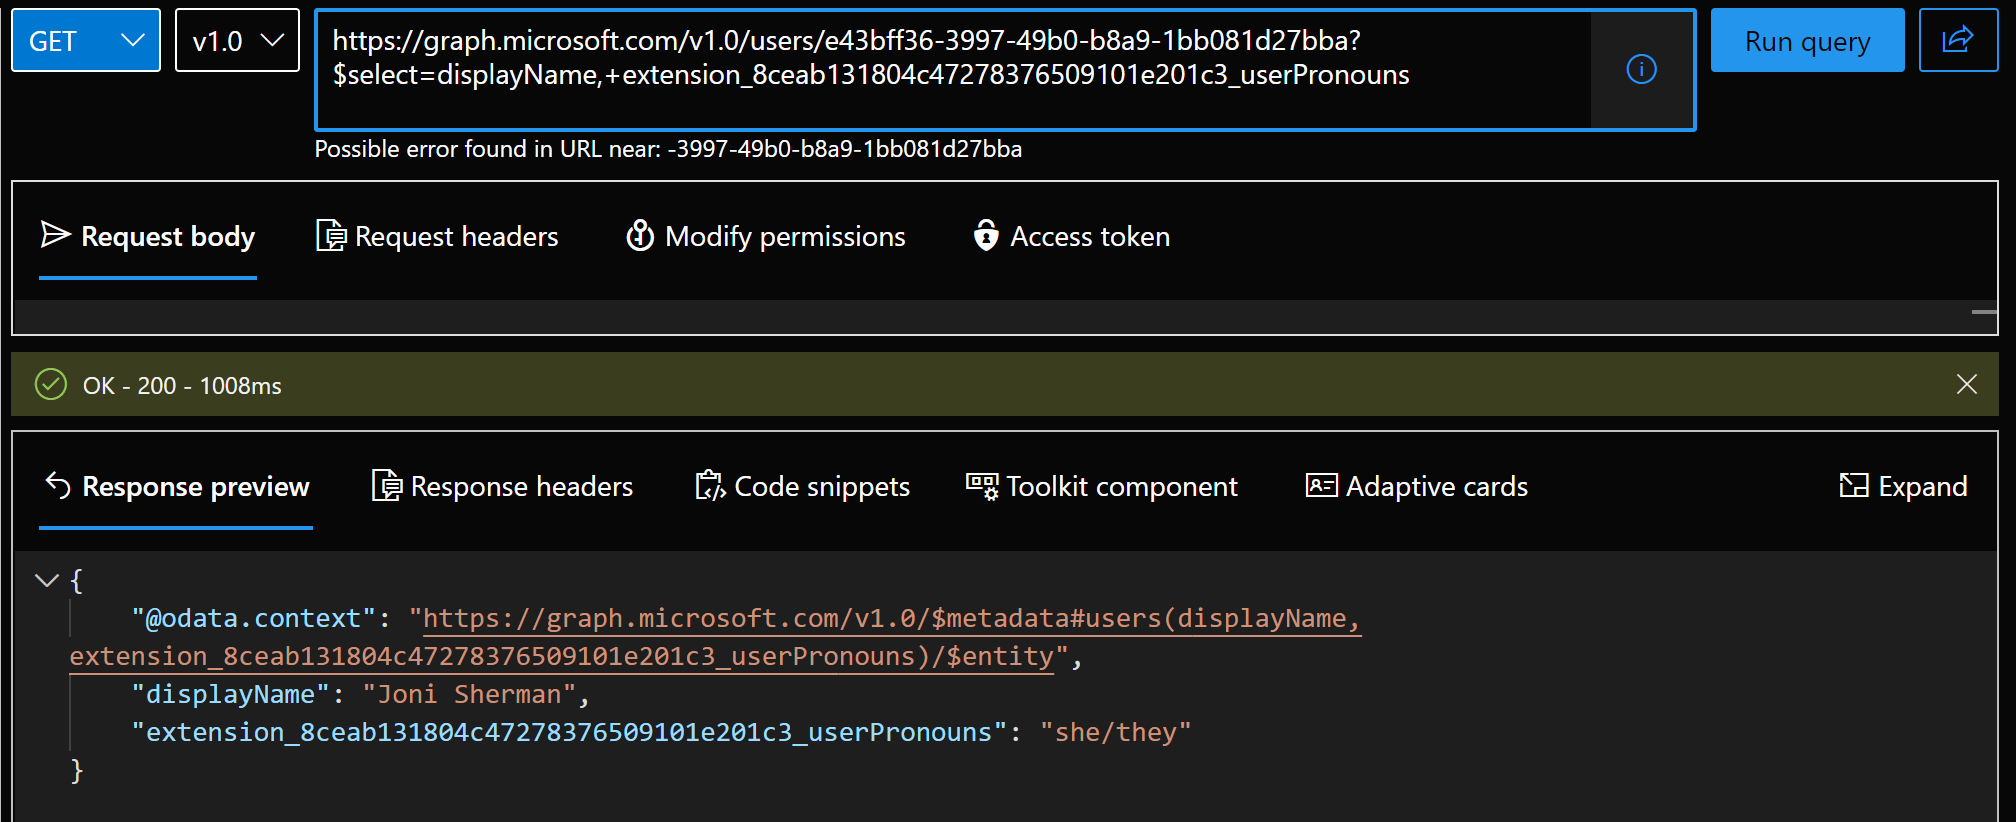
Of course we want to check if it worked, so we will do a GET to https://graph.microsoft.com/v1.0/users/{userId}?$select=displayName, extension_8ceab131804c47278376509101e201c3_userPronouns
It is required to select the new property in the GET request, otherwise it won’t be returned.

Create a custom connector for Power Platform
Now that we created the extension and know how to patch and get data, we can build a custom connector so we can expose the functionality in Power Platform.
GET request
You can follow steps create the custom connector, but instead of adding a GetPeople action, add a GetUsers action:
- Select Definition
- Select New action
- Type in
GetUsersas Summary, Description, and Operation ID - Under Request, select Import from sample
- Select
GETas Verb - Type
https://graph.microsoft.com/v1.0/users/{userid}$select=displayName, extension_8ceab131804c47278376509101e201c3_userPronounsas URL (remember, it’s the same URL we used in Graph explorer, please replace the extension property) - Select Import
- Under Response, select Add default response
- Paste in the response you got from Graph Explorer in the Body field
- Select Import
- Select Update Connector
- Select Test
- Select New Connection
- Select Create - you will annoyingly be redirected to the connections overview - go back to your custom connector
- Select Test operation - you should receive a HTTP response
200 - Select Close
PATCH request
For the PATCH request, add another action to your custom connector:
- Select Definition
- Select New action
- Type in
PatchPronounsas Summary, Description, and Operation ID - Under Request, select Import from sample
- Select
PATCHas Verb - Type
https://graph.microsoft.com/v1.0/users/{userid}as URL (remember, it’s the same URL we used in Graph explorer, please replace the extension property ) - Type in the Body
{
"extension_8ceab131804c47278376509101e201c3_userPronouns": "she/they"
}
- Select Import
- Under Response, select Add default response
- Paste in the response you got from Graph Explorer in the Body field
- Select Import
- Select Update Connector
- Select Test
- Select New Connection
- Select Create - you will annoyingly be redirected to the connections overview - go back to your custom connector
- Select Test operation - you should receive a HTTP response
204 - Select Close
We can then set the Text of a text label to
GraphConnector.GetUser(<userId>,{'$select':"displayName, extension_8ceab131804c47278376509101e201c3_userPronouns"}).extension_8ceab131804c47278376509101e201c3_userPronouns to display the pronouns of a certain user and set the OnSelect of a button to
GraphConnector.PatchPronouns(<userId>,{extension_8ceab131804c47278376509101e201c3_userPronouns:"she/they")
Back to my app idea…
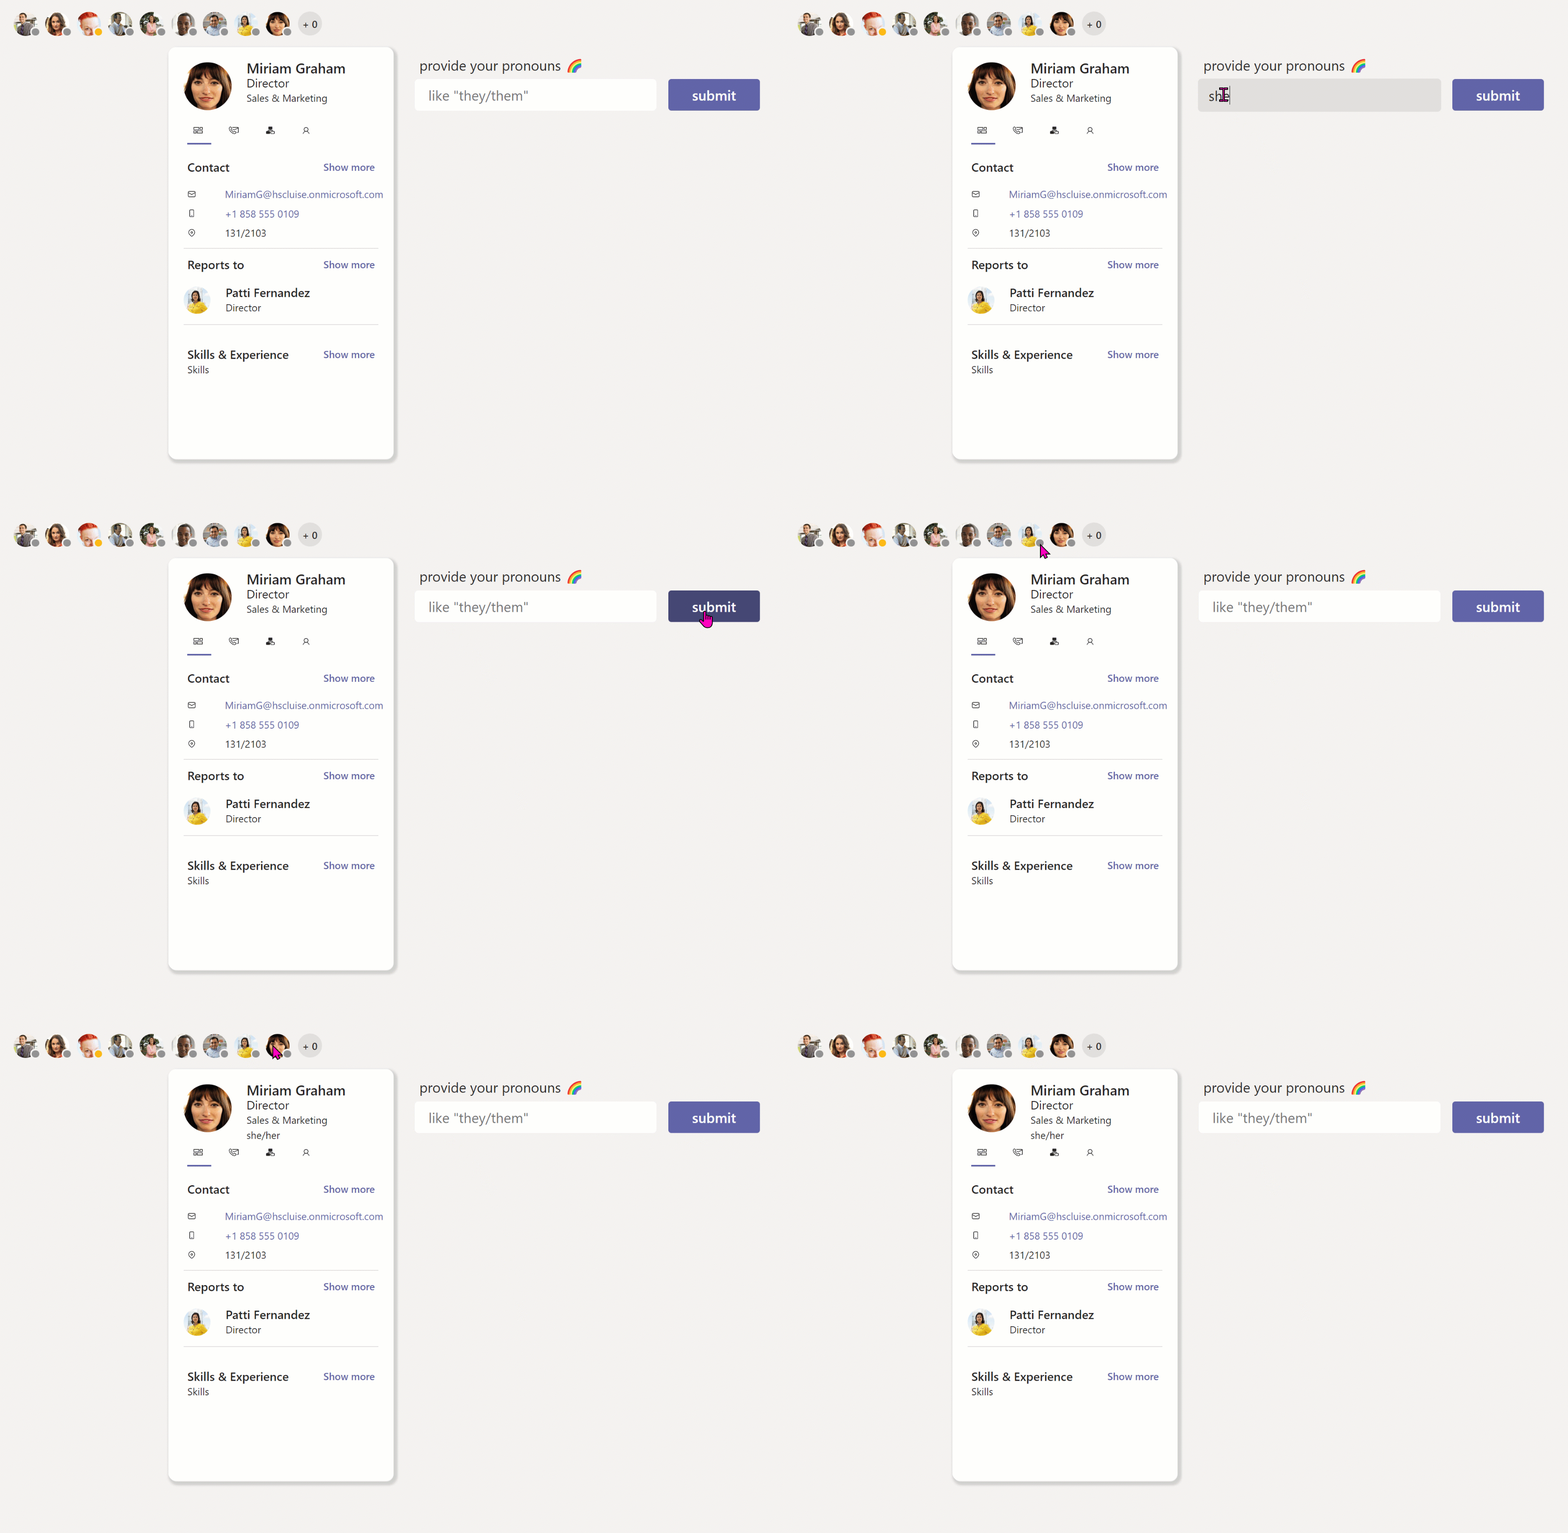
Following my idea to re-create Microsoft Graph toolkit components as Power Apps canvas components I did a more inclusive person card component - with pronouns.

Feedback and whats’s next
What do you think? Which custom fields would you like to expose? Let me know on twitter. I will blog about how to create the component (and open-source it) in the next post.
You May Also Like
Microsoft Graph toolkit people-picker lookalike for Power Apps
tl:dr Microsoft Graph toolkit is a collection of reusable components for accessing and working with Microsoft Graph API - However, we can’t use them in Power Apps, which is why I started to …
How to make a auto-height textinput component for Power Apps
Some controls in Power Apps do not have an auto height property, which means that we can’t get the Height of a control to automagically ✨ adjust to its content. Especially for the textinput …
Series: Build Power Apps that don't look like Power Apps - Material Design part 2
For real, your low code apps don’t need to look like as if design wasn’t important. I hear lots of people say, that they suck at design or don’t have an eye for good UX. But a …


