
How to build a curved gallery in Power Apps
tl;dr
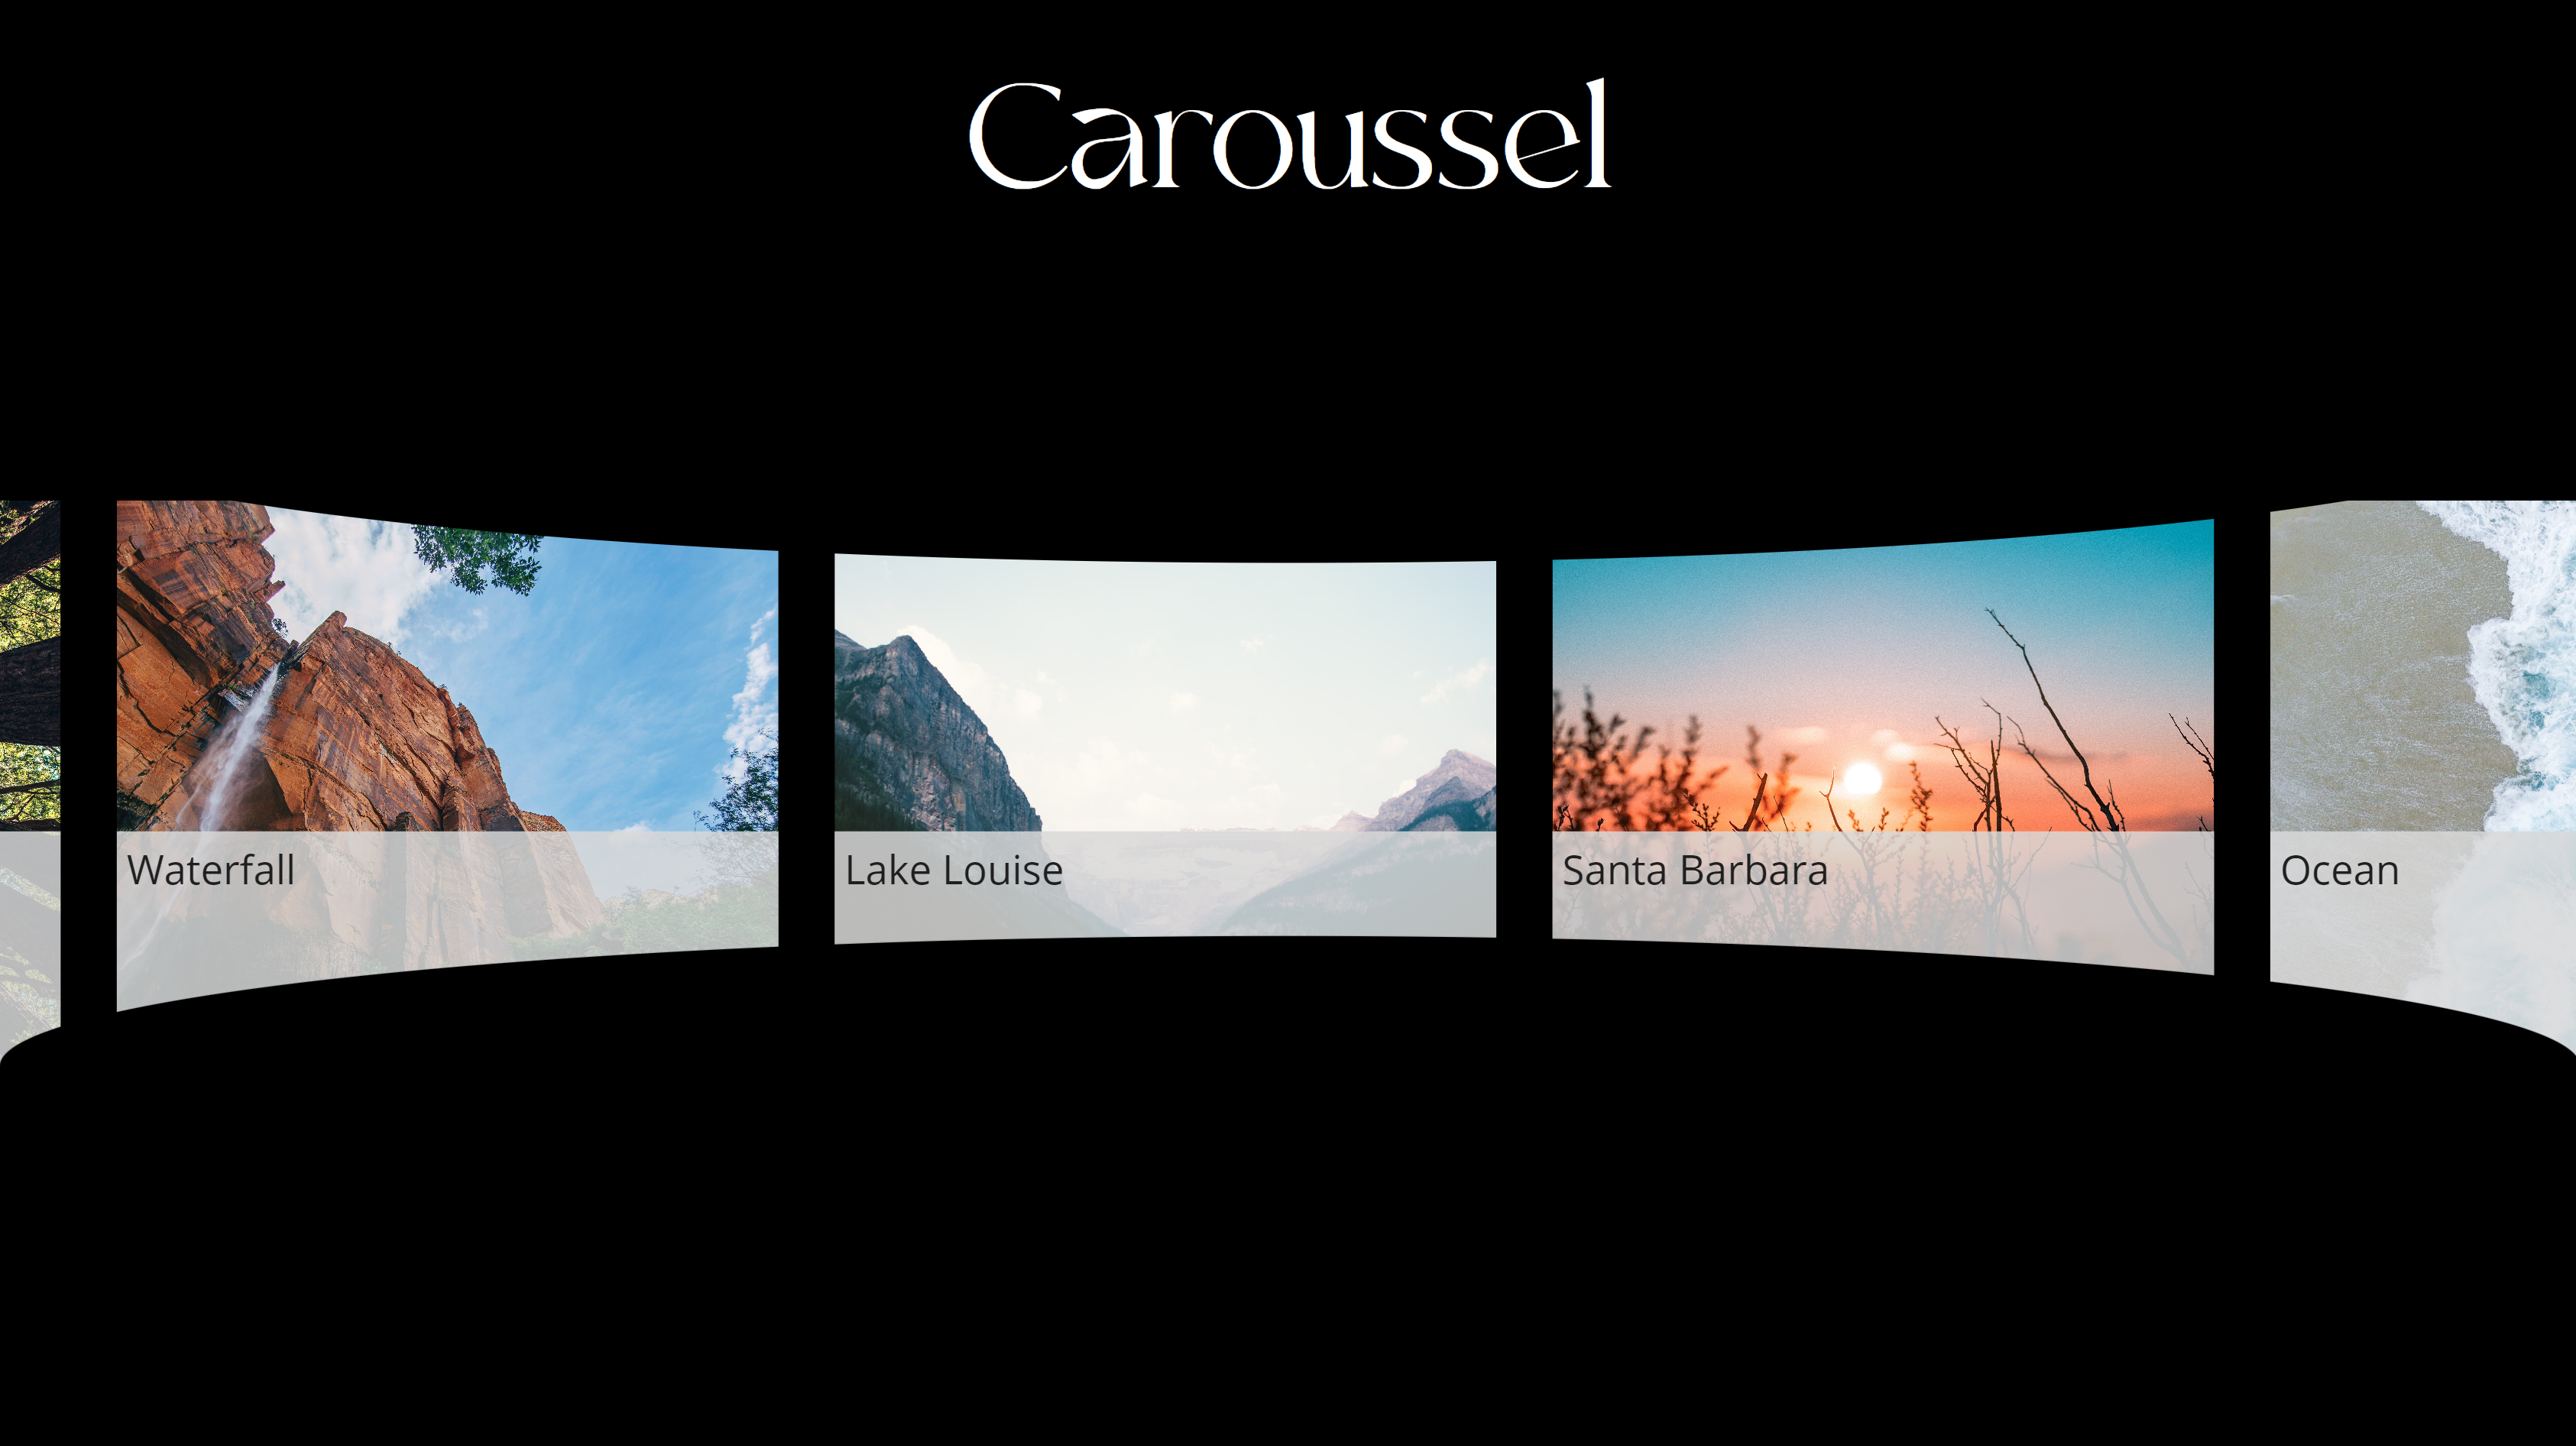
Galleries in Power Apps do not have to look boring. With a little creativity we can create a curve effect.
gallery
- Upload a few images
- Add a horizontal gallery
gal - Set the ShowScrollbar property to
false - Set its items property to
Table(
    {
        id: 1,
        image: 'image1',
        title: "image1"
    },
    {
        id: 2,
        image: 'image2',
        title: "image2"
    },
    {
        id: 3,
        image: 'image3',
        title: "image3"
    },
    {
        id: 4,
        image: 'image4',
        title: "image4"
    },
    {
        id: 5,
        image: 'image5',
        title: "image5"
    },
    {
        id: 6,
        image: 'image6',
        title: "image6"
    },
    {
        id: 7,
        image: 'image7',
        title: "image7"
    },
    {
        id: 8,
        image: 'image8',
        title: "title8"
    }
)
- Add an image
imgto the gallery, set its Image property toThisItem.image - Add a button to the gallery, (I liked it to be semi transparent) and set its X to
img.Xand its Width* toimg.Width - Set its Text property to
ThisItem.title
ovals
- Add two ovals to your screen, set their Width to
gal.Width, set their Y property that the ovals slightly overlap with the gallery (depending on how intense you want the curve effect to look like) - Set the Fill property to
Screen1.Filland their BorderColor toTransparent- voila, they seem to be invisible
slider
As we don’t show a scrollbar (I find the built-in scrollbar ugly), we will add a slider with which we can scroll through our gallery
- Add a horizontal slider
- Place it on top of the gallery, matching its size
- Set the HandleSize to
gal.TemplateHeight - Set its Min to
(gal.TemplateWidth*CountRows(gal.AllItems)-gal.Width-gal.TemplateWidth)*-1, its Max togal.Width-gal.TemplateWidth, and its Default toSelf.Max - Now set all color values to
Transparent- we want to make the slider disappear. Don’t set the visible property tofalse- users can’t interact then with the control anymore
One last thing: Set the X property of the image in the gallery to slider.Value
That’s it!
Feedback and what’s next?
I’d like to know what you would like to display in such a curved gallery? Preview of documents? Images of assets? Also: did you know that you could use a slider to scroll through a gallery? Let me know on twitter!

My name is
Luise Freese
You May Also Like

How to build a swipe-right component in Power Apps
tl;dr Your canvas apps do not have to look ugly. This blog post guides you how to build a swipe-right component that you can reuse across apps. What we are going to build Create the Component with …

How to build a split button component for Power Apps
tl;dr Less controls mean less user confusion and better performance - This blog post guides you through the creation of a simple yet effective split button component. Let’s create a component …

How to show the app version in Power Apps Canvas Apps
tl;dr You can display the current app version in a canvas app using the Power Apps for Makers connector. This is especially helpful while during developing/debugging Power Apps for Microsoft Teams. ⚡ …